REVIEW · QUEENSTOWN
Half Day Queenstown & Beyond Private Scenic Photography Tour
Book on Viator →Operated by Remarkable Imagery Photography Tours · Bookable on Viator
Queenstown turns into a photo set when you have a guide. This half-day private tour lets you chase the Southern Lakes look and Central Otago scenery with a local photographer, Martin Kohn, who teaches you how to see and shoot. You pick the morning or afternoon, then he builds a route around your interests, your camera skills, and the light that day.
I love two things most. First, the private 4WD pickup means you’re not stuck with a rigid bus schedule, and you can head in the direction that fits the weather. Second, the instruction is practical: you get on-the-spot tips for composition and exposure so your photos improve in real time, not just in theory.
One possible drawback: this tour runs in all weather, so you should plan for cold, wet roads, and you may get less time to linger if conditions are rough. Also, lunch isn’t included, so budget a bit extra if you want a proper meal out there.
In This Review
- Key highlights you’ll care about
- A private photo lesson, not just a sightseeing ride
- How the guide chooses your route around Queenstown
- Stop-by-stop: the kinds of scenes you’ll actually shoot
- 1) Queenstown-Lakes District: your first prime framing session
- 2) Skippers Canyon and the old mining road vibe
- 3) South to Kingston and the Remarkables base
- 4) Glenorchy: waterfalls, lake views, and film-location angles
- 5) Arrowtown, Gibbston Valley, and Kawarau Gorge
- The photography coaching that actually helps your shots
- Camera options and what to budget
- Price and value: is $173.76 per person worth it?
- Weather reality: how to pack for a half day outdoors
- Who this tour suits best
- Should you book this Queenstown photo tour?
- FAQ
- FAQ
- How long is the Half Day Queenstown and Beyond Private Scenic Photography Tour?
- Is hotel pickup and drop-off included?
- Can I choose a morning or afternoon tour?
- Is the tour private?
- Do I need to bring my own camera?
- What photography help do I get during the tour?
- Are refreshments included?
- Is lunch included?
- Does the tour run in bad weather?
- What is the cancellation policy?
Key highlights you’ll care about
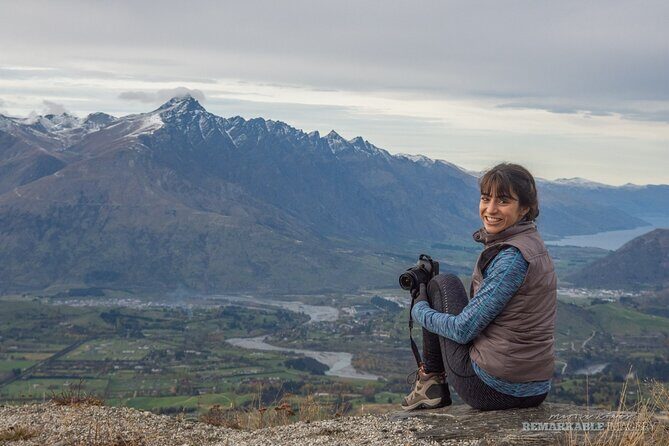
- Martin Kohn’s photo coaching focuses on how to frame shots and set exposure for the conditions you’re standing in
- Flexible route planning means you can shoot different areas around Queenstown, from lakefront views to canyons and waterfalls
- Private small-group feel for individuals or your own group, with hotel pickup and drop-off
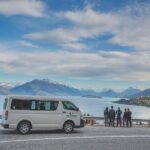
- 4WD access to viewpoints that most visitors skip (including some roads you likely wouldn’t drive yourself)
- Light refreshments like coffee, tea, and cookies to keep you going between stops
- Bring your own camera or rent one (Nikon D5100, D5600, or D7200 for an extra fee)
A private photo lesson, not just a sightseeing ride
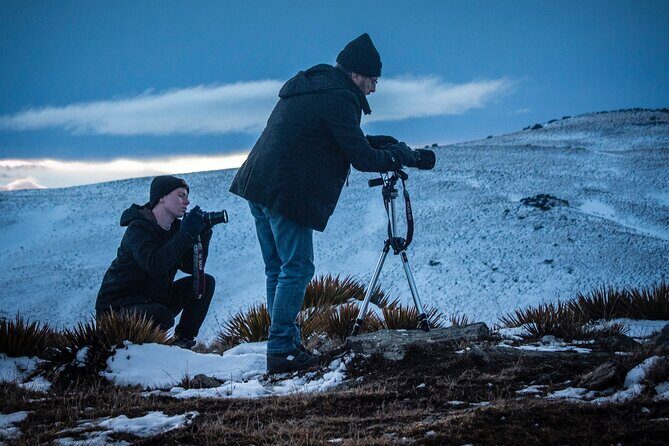
This is the kind of tour you book when you want more than pretty scenery on a list. You’re in a comfortable 4WD, and you spend the half day photographing Queenstown and the broader Southern Lakes/Central Otago region with someone who actually thinks about light and framing.
Martin’s style comes through in how he teaches. You don’t just get a route and a few quick pointers. You get time at the spots, and you’re encouraged to wait for the right moment—cloud breaks, mist movement, waterfall flow, changing highlights on the lake. One of the strongest pieces of feedback from past guests is that the tour felt photography-focused, with enough time to try for the shot you want rather than racing through locations.
And if you’re rusty, that helps too. Several people describe relearning what they’d forgotten about exposure and composition. If you’re brand new, it’s also a good fit because Martin can explain what you need to do without assuming you already know your camera inside out.
Other Queenstown tours we've reviewed in Queenstown
How the guide chooses your route around Queenstown
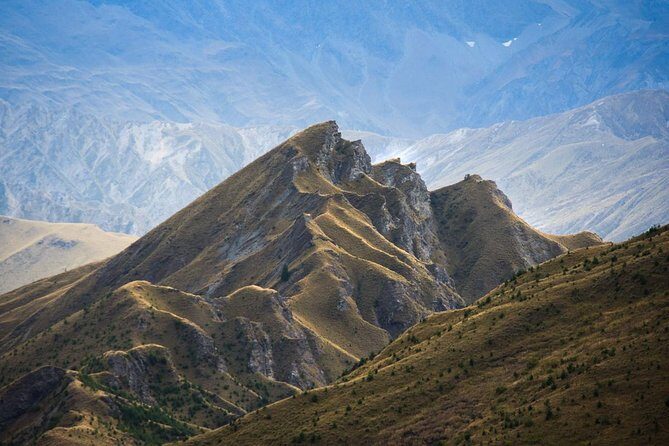
Your day starts with pickup from your accommodation in Queenstown, Frankton, or Arrowtown. Then Martin talks with you about what you like to photograph, your experience level, and the conditions that morning or afternoon.
From there, you can end up heading in different directions, depending on what’s working:
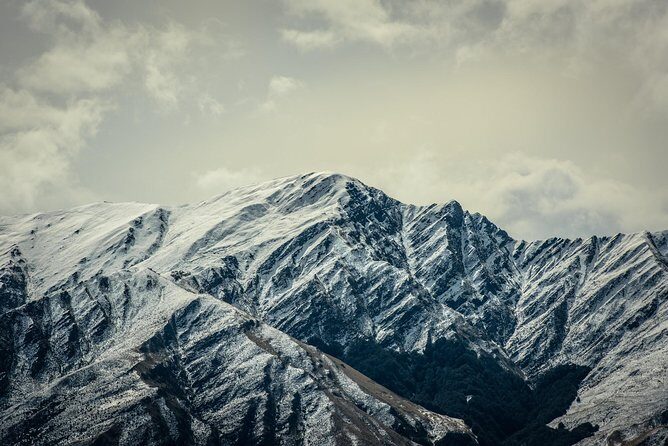
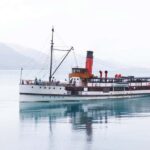
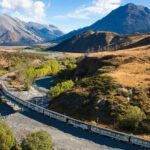
- South toward the Remarkables and Kingston: Think mountains, waterfalls, lakeshore viewpoints, and that sense of going beyond the main tourist strip. Kingston area ideas can include an old steam train.
- North toward Coronet Peak and Skippers Canyon: This is where you get rugged roads, gold mining heritage themes, alpine tussock country, and the dramatic walls of the canyon.
- West toward Glenorchy: Expect waterfalls, Lake Wakatipu views, Moke Lake area scenery, farming and working-land vibes, plus locations tied to The Lord of the Rings.
- East toward Arrowtown, the Crown Range, Gibbston Valley, and Kawarau Gorge: This is a strong option if you want a mix of historic town energy, vineyard/valley scenery, and gorge drama.
What’s really valuable here is that you’re not just following a pre-set script. The flexibility can make a big difference. If the day is cloudy or misty, it can produce atmospheric shots. If the light is sharp, it can help you get cleaner skies and crisper contrast.
Stop-by-stop: the kinds of scenes you’ll actually shoot
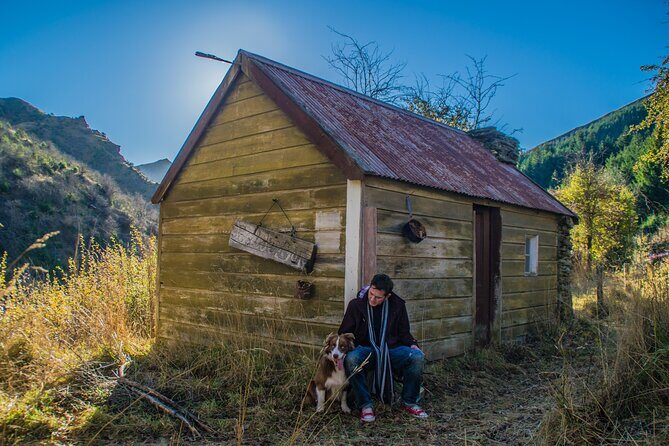
Because this is private and flexible, you won’t get the exact same stops as anyone else. But you’ll recognize the main “photo themes” that Martin builds around:
1) Queenstown-Lakes District: your first prime framing session
You begin in the Queenstown-Lakes District, where Martin first sets the direction for the day based on your preferences and the weather. This is also where you’ll likely get your first real coaching moment: how to look for leading lines, how to balance foreground and background, and how to adjust exposure when light changes fast near the lake and mountains.
It’s a smart way to start, because you’ll use those ideas immediately rather than saving them for later when the light has already shifted.
2) Skippers Canyon and the old mining road vibe
If your route includes Skippers Canyon and the road through it, you’ll see why this area gets repeat photographers. The canyon is dramatic, the views can feel steep and exposed, and the whole drive has a “you’re in the real terrain” feeling.
One review highlights the experience of driving Skippers Canyon’s old mining road, described as one of the most dangerous roads in the world. The key takeaway for you isn’t the trivia—it’s that Martin handles it confidently and safely. If you prefer calm, steady driving, that matters. If you’re prone to motion discomfort, plan for a twisty road day and bring water.
Photo-wise, Skippers-style roads are great because they offer instant composition challenges. You’ll find yourself composing with curves, cliff edges, and changing angles as you move.
Other private tours in Queenstown


3) South to Kingston and the Remarkables base
Going south can bring you mountains and waterfalls with a broader “wide country” feeling. The Remarkables Range area gives you tall shapes and layered depth, and that’s where composition tips pay off fast—foreground texture against big sky, or a waterfall placed to anchor the frame.
If you’re chasing motion in water, bring settings awareness. Martin’s coaching on exposure helps here so your waterfall looks the way you want, not just whatever the camera defaults to.
4) Glenorchy: waterfalls, lake views, and film-location angles
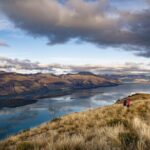
A Glenorchy-including route is a classic Queenstown move, and it can be a great match for photographers because it offers variety in a short time: waterfalls, Lake Wakatipu viewpoints, and the kind of open countryside that makes your images feel like you’re farther away than you really are.
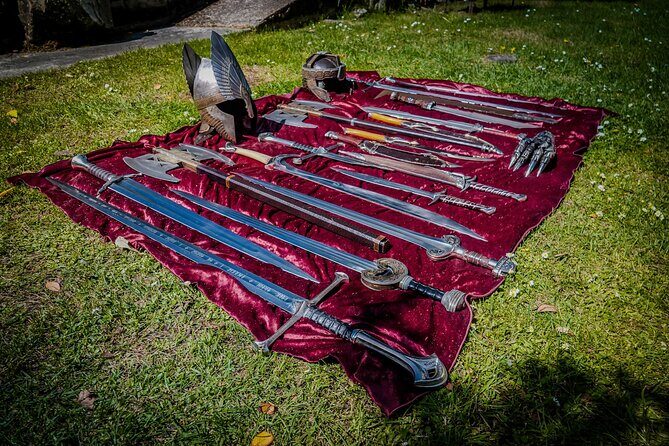
There are also The Lord of the Rings location connections in the region, so you might see familiar angles or landscapes tied to the films. Even if you’re not a movie-spotter, this side of the region often has softer “storybook” light and lots of natural textures to work with.
5) Arrowtown, Gibbston Valley, and Kawarau Gorge
If you go east, you’ll get a different mood—more human-scale elements alongside the big Southern Lakes scenery. Arrowtown adds older gold mining heritage atmosphere, while Gibbston Valley can bring vineyards into the mix. Kawarau Gorge adds the kind of terrain where the land looks carved and timeworn.
This is where you can use composition techniques on both sides: frame the wide views, then shift to details like buildings, vineyard rows, or gorge lines if your camera and legs can handle it.
The photography coaching that actually helps your shots
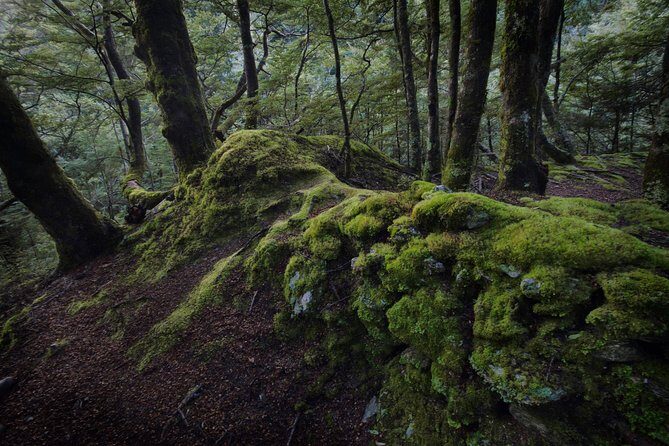
This tour is built around instruction, and the focus is on what changes results: composition, exposure, and lighting.
Here’s what you can expect from the way Martin teaches:
- Composition in context: he shows you how to use leading lines and strong foreground choices at the exact spot where you’re standing
- Exposure help tied to weather: cloud, mist, and brighter patches all demand different settings, and you’ll get guidance that matches the moment
- Timing and patience: you’re given time to get the perfect shot, rather than rushing away when the vehicle is ready
Several people specifically call out leading lines and the idea that the tour pace felt photography-first. That matters because camera learning isn’t just “know your settings.” It’s also knowing when to use them, and how to adjust as the light changes minute to minute.
If you’re thinking, I’ll just shoot on Auto and hope, this is still a good tour. You’ll at least get a practical sense of what’s happening when the camera struggles.
Camera options and what to budget
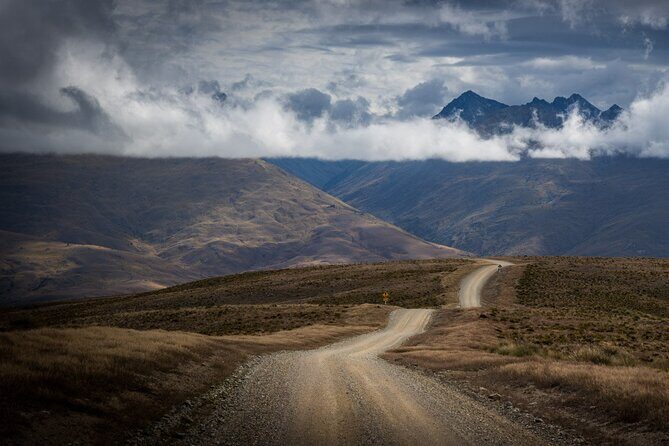
You can bring your own camera, or you can rent one for an extra fee: Nikon D5100, D5600, or D7200 for $25 NZD per day. Since the rental cost is separate, factor that into your total.
Also note what’s not included: lunch. You’ll have the opportunity to buy lunch along the way, so you won’t be stuck with nothing to eat. Still, the easiest plan is to bring a snack just in case the schedule compresses.
One small planning tip: if you’re renting, arrive with charging habits in mind. A half day is short. You don’t want to spend your best light hunting for batteries.
Price and value: is $173.76 per person worth it?
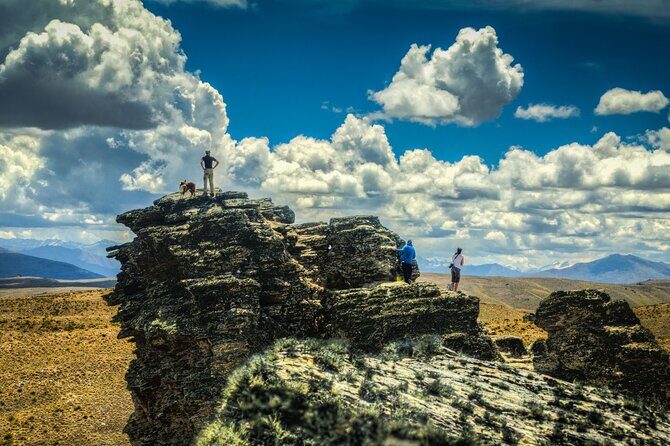
At $173.76 per person, this isn’t a cheap “ride and look” tour. The value is in the combination:
- private 4WD access to remote viewpoints
- hotel pickup and drop-off
- a guide who works as a photographer and teaches you on the spot
- flexible routing based on conditions and your interests
- included light refreshments (coffee, tea, cookies)
- no admission fees mentioned for the tour itself (admission ticket free)
If you compare it to a standard tour, you’re paying extra for the coaching time and the freedom to shoot where conditions are best. If you like photography and want better results quickly, that can feel like good money.
If you’re mainly after casual photos with no interest in settings or composition, you might be better suited to a general scenic tour. But if you want to come home with images that look planned and intentional, this price starts to make sense fast.
Weather reality: how to pack for a half day outdoors
The tour operates in all weather conditions, so you should plan like the sky could change its mind. Mist can be beautiful for photos, but wet roads and chilly winds are real.
Bring:
- a rain layer you’ll actually use
- warm layers for mornings and late afternoons
- shoes you trust on uneven ground
You’ll also spend time doing short movements between viewpoints. The tour is private, so the pace is adjustable, but you still need to be comfortable stepping out, composing, shooting, and getting back to the vehicle.
Who this tour suits best
This is a great match if:
- you want to improve your photography in a short time
- you enjoy learning how to see scenes (not just snapping at them)
- you want access to roads and viewpoints outside the most common stops
- you’d like the flexibility to choose morning or afternoon light
It’s also a strong choice for solo travelers who want personal attention, or for small groups that want shared coaching rather than a group scramble.
If you’re traveling with someone who hates cameras, you may want to manage expectations. This isn’t the kind of tour where the camera angle is optional—it’s the core activity.
Should you book this Queenstown photo tour?
Book it if you want a focused half day in Queenstown where photo instruction meets real driving access. The best reason to book is that it isn’t just scenic transport; you get practical composition and exposure advice tied to the exact views you’re photographing.
Skip it if your goal is only quick postcards and you don’t care about improving your shots. At that point, you’d likely get similar views from less expensive tours.
FAQ
FAQ
How long is the Half Day Queenstown and Beyond Private Scenic Photography Tour?
It’s about 5 hours long.
Is hotel pickup and drop-off included?
Yes. Pickup and drop-off are offered from accommodations in Queenstown, Frankton, or Arrowtown.
Can I choose a morning or afternoon tour?
Yes. You can choose between morning or afternoon options.
Is the tour private?
Yes. It’s private, so only your group participates.
Do I need to bring my own camera?
You can bring your own camera, or you can rent a Nikon camera (D5100, D5600, or D7200) for an extra $25 NZD per day.
What photography help do I get during the tour?
You’ll receive advice on composition, exposure, and lighting for better photos, plus guidance on using your camera.
Are refreshments included?
Yes. Coffee, tea, and cookies are provided as light refreshments.
Is lunch included?
No. Lunch is not included, but you’ll have an opportunity to buy lunch.
Does the tour run in bad weather?
Yes. It operates in all weather conditions, and you should dress appropriately.
What is the cancellation policy?
You can cancel for free up to 24 hours in advance for a full refund. If you cancel less than 24 hours before the start time, the amount paid isn’t refunded.