REVIEW · WANAKA
Wanaka: Waterfall Climb and Canyon Tour
Book on GetYourGuide →Operated by Wildwire Wanaka · Bookable on GetYourGuide
Twin Falls is the kind of place that makes you forget you have a phone. This Wanaka tour mixes a beginner-friendly cable climb with canyon-style abseiling and rappels, so you get two skills in one outing, plus mountain and lake views from native bush trails. You also get right up into the spray at Twin Falls, including multiple waterfall descents.
I especially like that the tour is built for adventurous, fit beginners. You’re taught how to climb and descend ropes as you go, and you’re supported the whole time by an experienced guide. The other big win for me is the small-group feel: you can get personal attention and move at a pace that doesn’t feel rushed.
One drawback to plan for: you’ll be moving on uneven, exposed terrain for up to 5 active hours, and you’ll need a head for heights. If that idea makes you tense, this tour may not be your best match.
In This Review
- Key points worth knowing before you go
- Twin Falls in Wanaka: why this tour feels like two adventures
- The 6-hour rhythm: what the day actually includes
- Level 1 cable climb: your confidence building step
- The cliffside trail: getting close to Twin Falls before you descend
- Abseiling Twin Falls: the point where it gets real
- What keeps this from being “just scary”
- Wire crossing and the final guided lower: ending with control
- Mountain and lake views, but make them practical
- What to bring (and what to skip) for a wet, rope-heavy day
- Meeting point near Wanaka’s Twin Falls: avoid driving too far
- Small groups in practice: why a max of 6 feels different
- Who this tour suits best (and who should think twice)
- Price and value: what you’re paying for at $196 per person
- Should you book this Wanaka waterfall climb and canyon tour?
- FAQ
- How long is the Wanaka Waterfall Climb and Canyon Tour?
- Do I need prior abseiling or climbing experience?
- What skills will I learn during the tour?
- What’s included in the price?
- What should I bring with me?
- Where do I meet the tour guide?
- What are the height, weight, and age limits?
- Can I cancel or pay later?
Key points worth knowing before you go
- Climb first, then canyon down: you start with a Level 1 cable climb and finish with wire-based descents.
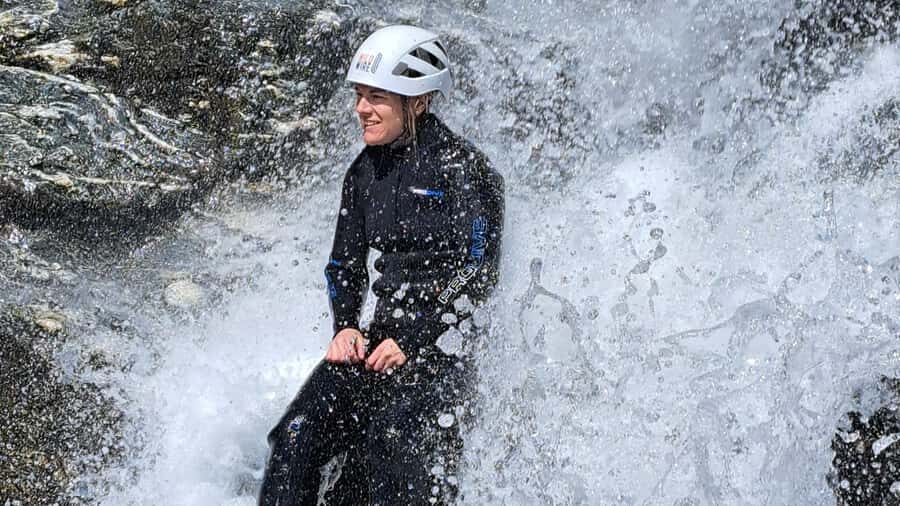
- Real waterfall contact: you abseil the lower section of Twin Falls and rappel down six waterfalls.
- Beginner skills, real safety: you get training plus safety gear from an experienced guide throughout.
- Tiny groups can happen: the tour runs with a max of 6 people, and on some days the group can be very small.
- You’ll be in wet gear: wetsuit, socks, and a swim-ready plan matter more than fancy clothes.
Twin Falls in Wanaka: why this tour feels like two adventures
This is one of those tours where the big headline is also the point. You’re not choosing between climbing and canyoning. You’re doing both, in sequence, around Twin Falls. That matters because your confidence builds in steps.
First, you learn the basics with a controlled cable climb. Then you transition to a cliffside approach so you’re close to the waterfalls before you descend. After that, the day shifts into abseiling and rappel mode—getting you right into the action with guided technique and safety checks.
The payoff is a full-on day outdoors that still feels organized. You’re not just “watching nature.” You’re working with it—walking uneven ground, climbing, and descending on ropes—while the views keep reminding you where you are: Wanaka, in the South Island, with mountain and lake scenery around you.
Other Wanaka tours we've reviewed in Wanaka

The 6-hour rhythm: what the day actually includes
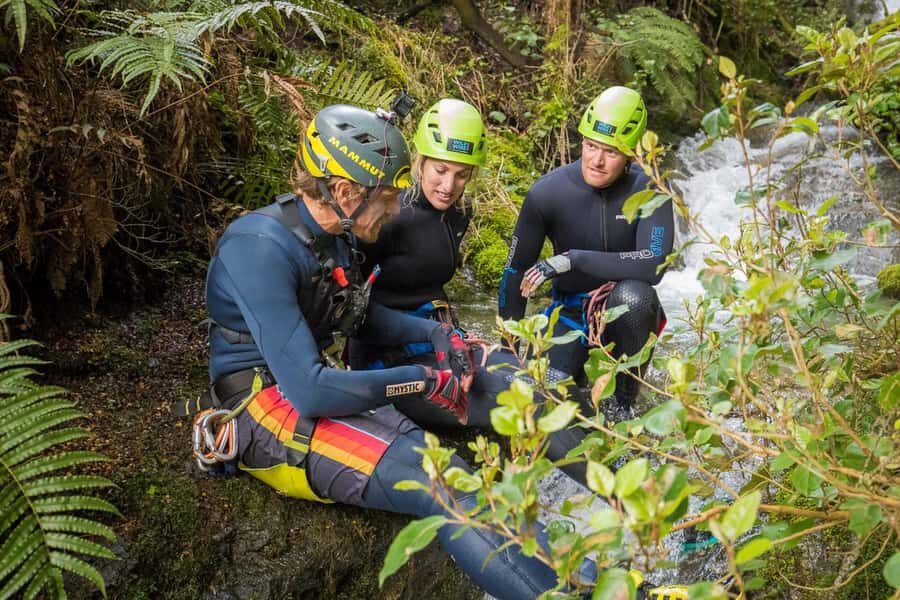
The total time on the tour is 6 hours, with up to about 5 hours of active time. That active time is spread across learning, moving on trails, and doing descents. It’s not a “sit and watch” experience.
A typical flow looks like this:
- You start with training for the Level 1 cable climb.
- You move along a cliffside trail to the next-door waterfall.
- You abseil/rappel down the lower section of the right-hand Twin Falls.
- You finish with a guided lower on a wire crossing and a short walk back to the base.
You’ll also be kitted out with a wetsuit and wetsuit socks, plus safety equipment. Lunch is included, which is a big deal on an active day when you’re already expecting to get wet and work hard.
Level 1 cable climb: your confidence building step
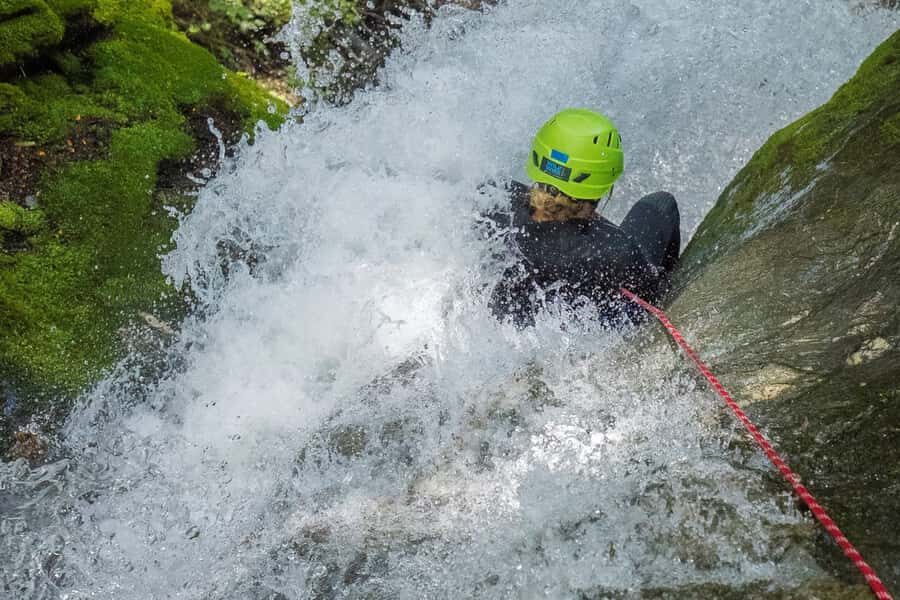
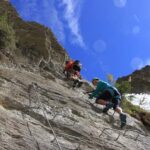
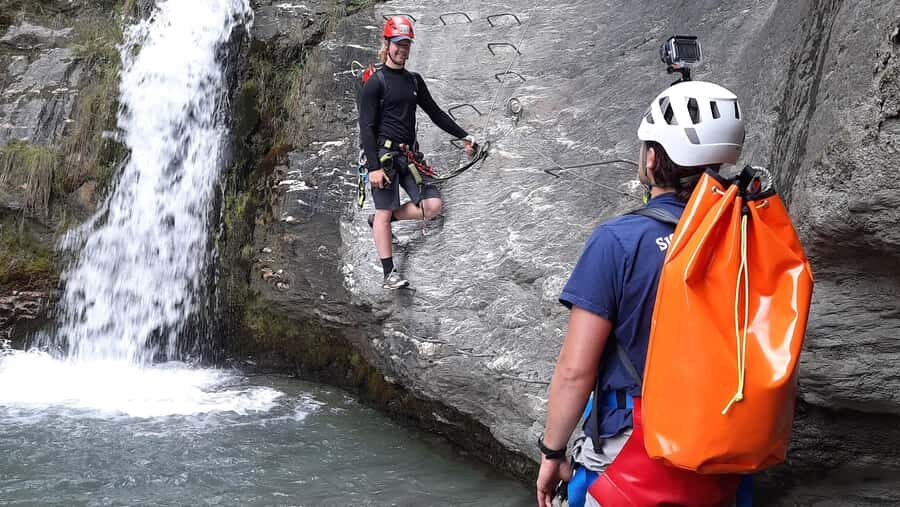
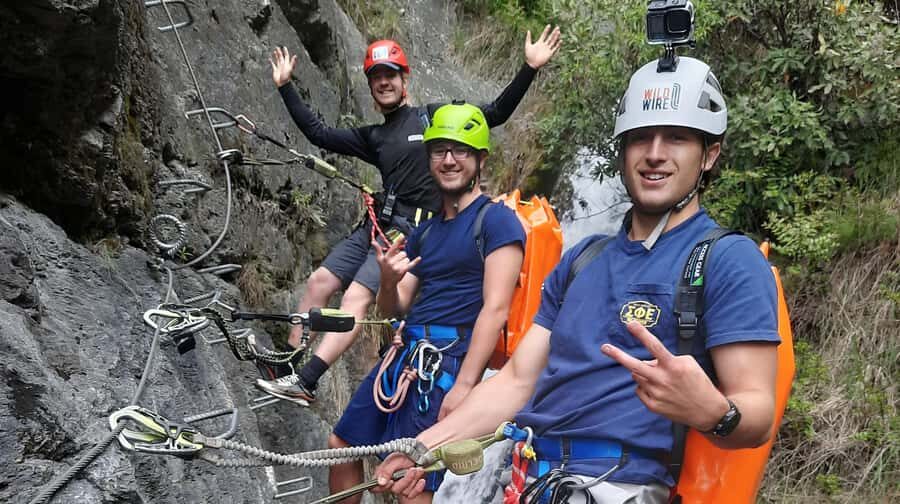
This tour starts with the Level 1 cable climb. The key word there is Level 1. You’re not thrown into a scary situation. You’re taught how to climb with the rope setup and cable system before moving toward the waterfall.
I like this structure because it tackles the hardest mental piece first: getting comfortable with heights and controlled movement. Once you’ve done the cable segment with a guide right there, the rest of the tour makes more sense. Even if you’re nervous at the start, you’re learning with safety training and hands-on support instead of guessing.
What to expect during this stage:
- You’ll receive safety training and use the provided safety equipment.
- You’ll practice movement on steep, cable-assisted terrain.
- You’re guided so you can focus on technique rather than figuring it out while under pressure.
If you tend to freeze when things feel precarious, this is still the right starting point—because you’re learning the system first.
The cliffside trail: getting close to Twin Falls before you descend
After the climb, you head along the cliffside trail toward the waterfall area. This part is more than a warm-up walk. It’s where you start to feel how close you’ll be to the falls—and where the day shifts from hiking energy to full waterfall immersion.
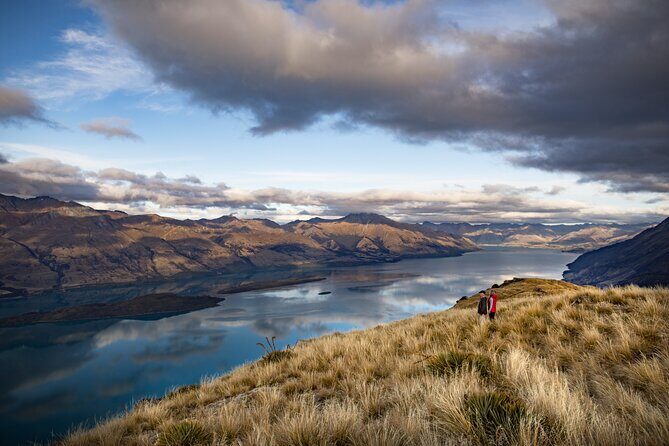
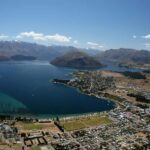
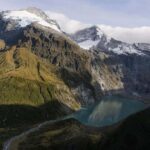
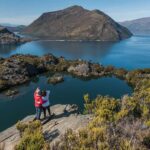
You’ll be in native bush, and the views open up toward the mountains and lake. That mix helps. When you’re about to rappel, it’s useful to have a moment where you can look out, breathe, and reset.
Practical takeaway: plan to be active and attentive on uneven ground. Even if you’re fit, trails and cliffside paths demand good footing, especially when you’re wearing wet gear and moving with purpose.
Abseiling Twin Falls: the point where it gets real
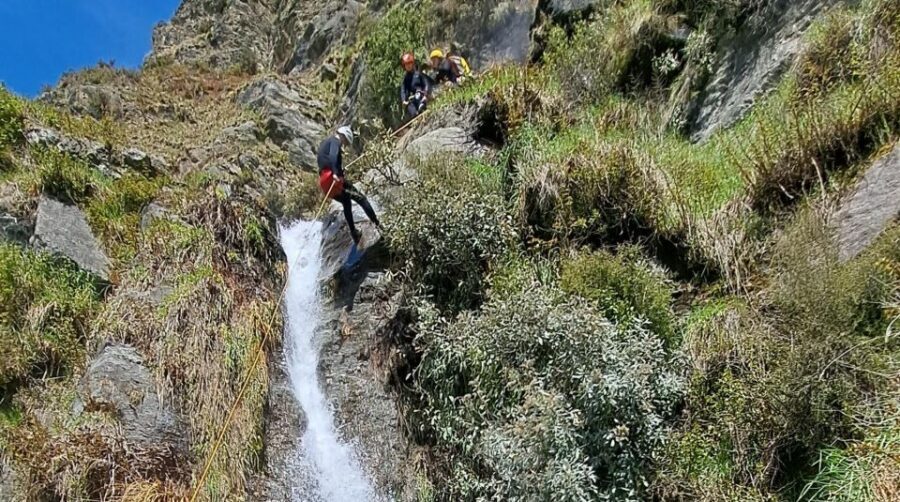
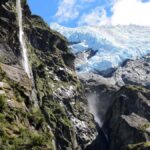
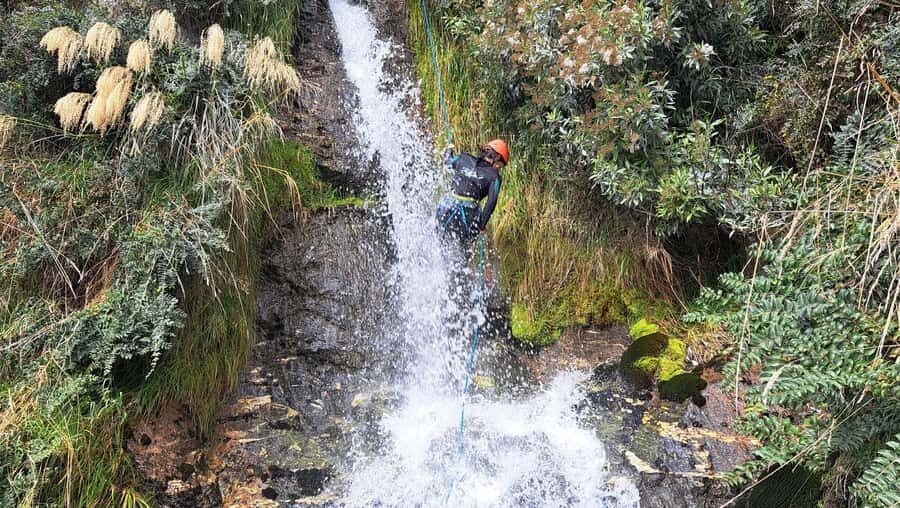
Now comes the highlight everyone talks about: rappelling and abseiling around Twin Falls. You abseil/rappel the lower section of the right-hand Twin Falls, getting up close and personal with waterfall spray.
From a reader standpoint, this is the section you should think about in two ways:
- Skill: you’re being taught rope descent technique as part of the tour.
- Condition: the environment is wet, slippery, and loud, and you’re doing it while staying secure on safety gear.
The tour description also emphasizes an adrenaline rush—specifically rappelling down six waterfalls. Even without exact heights spelled out, that number tells you it’s not a quick single descent. It’s a true series of moments where you move down with control, then re-position and continue.
If you have a head for heights (and you can keep your footing on uneven terrain), this is where the tour earns its reputation.

What keeps this from being “just scary”
The best element here is that you’re not figuring things out alone. You’re supported by an experienced guide during the entire time, with safety equipment and training. That combination is what turns a fear-heavy activity into a skills-based day.
A small group helps too. With a max of 6 participants, the guide can pace the group and adjust to how you’re moving.
Wire crossing and the final guided lower: ending with control
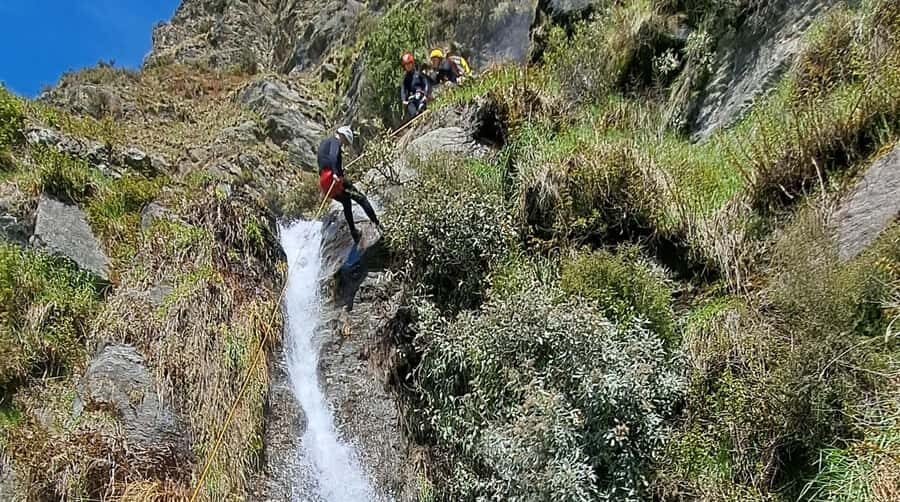
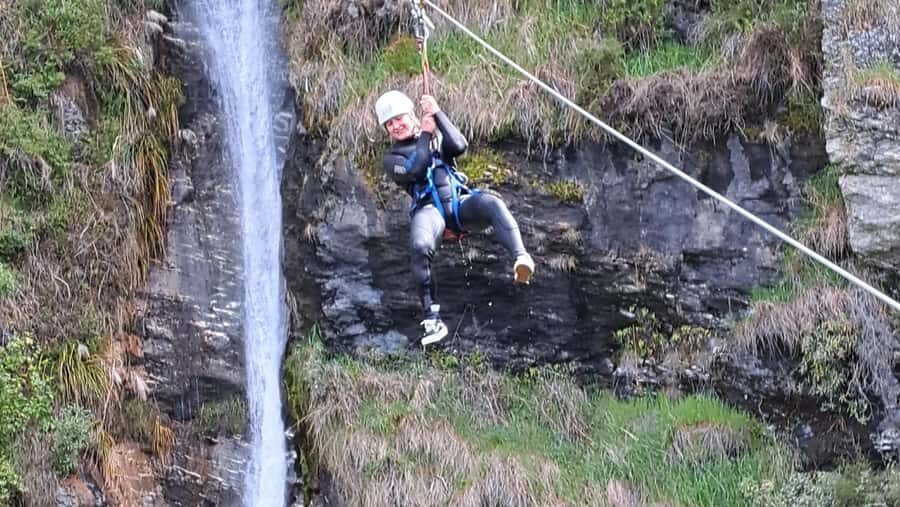
The tour finishes with a guided lower on the wire crossing, followed by a short walk back to the base.
This final segment matters because it’s where you can see your progress. You’ve already climbed, walked near the falls, and done multiple rappels. The wire crossing adds variety in how you move and descend, without changing the fundamentals: safety gear, guide support, and learned technique.
Then you get the reward version of “wrapping up”—a short walk back—so the day ends rather than dragging on with fatigue. You’ve put in a real effort, but it doesn’t turn into an all-day slog.
Mountain and lake views, but make them practical
There’s a lot of adrenaline in this tour, but I’m glad it’s not all adrenaline. You’re also out in native bush with exceptional mountain and lake views. That gives you two kinds of satisfaction:
- When you’re climbing and descending, the scenery keeps you grounded.
- When you catch your breath, you actually get to enjoy where you are instead of only thinking about your next step.
This is the kind of tour that feels more authentic because you’re physically part of the landscape. You’re not just passing by it.
What to bring (and what to skip) for a wet, rope-heavy day
Because the tour includes wetsuits, you don’t need your best outfit. You do need a plan for being wet, warm, and stable.
Bring:
- Swimwear
- Towel
- Hiking shoes (to get wet)
- Water
Optional (if you want it): a waterproof phone/camera case.
Skip:
- Sturdy shoes that stay dry. The tour is designed for getting wet, so treat footwear as wet gear.
A wetsuit and wetsuit socks are included, which helps a lot. Still, your footwear choice matters because you’ll be walking on uneven terrain before and after descents. If your shoes aren’t grippy enough, you’ll feel it immediately.
Meeting point near Wanaka’s Twin Falls: avoid driving too far
The meeting instructions are clear and worth following closely. From Wanaka town, you drive west along the Wanaka–Mt Aspiring Road, aiming toward Treble Cone Ski Field and Mt. Aspiring National Park.
About 20 minutes into the drive, you’ll reach a cattle stop area. Pull out immediately to the left in front of 2 massive waterfalls. Look for a locked farm gate with the local partner’s sign. That’s where you meet.
Important detail: if you reach the ski field road or gravel road, you’ve gone too far. So it’s better to slow down and check early.
Small groups in practice: why a max of 6 feels different
This tour caps at 6 participants, and that limitation shows up in the experience style. When fewer people are on the route, the guide can:
- Explain and correct technique without long waits.
- Keep the group together on narrow terrain.
- Adjust pace when someone needs a second to breathe or re-focus.
One verified comment highlighted how a tiny group can happen (in total 3). That kind of group size is great if you don’t want the day to feel like a conveyor belt.
Even if you don’t get a group that small, the max-6 setup still supports a safer, calmer rhythm.
Who this tour suits best (and who should think twice)
This is listed as suitable for adventurous, fit beginners. That means you don’t need prior abseiling or climbing experience, but you do need to be able to:
- Walk on uneven terrain
- Move through steep exposed cliffs
- Be active for up to 5 hours
- Have a head for heights
It’s not suitable for:
- Children under 14
- People under 120 cm
- People under 40 kg
- People over 100 kg
My practical advice: if you’re mainly excited by the idea of waterfalls and you hate heights, you may end up anxious rather than thrilled. On the other hand, if you can stay steady on your feet and follow instructions, this is exactly the kind of guided “learn by doing” day that builds real confidence.
Price and value: what you’re paying for at $196 per person
$196 per person for a 6-hour active tour might sound steep until you break down what’s included.
You get:
- An experienced professional guide
- Safety training
- Safety equipment
- Wetsuit and wetsuit socks
- Lunch
You’re also getting guided rope techniques (climbing and abseiling), plus the ability to do multiple waterfall descents. When you compare this to paying separately for instruction, gear, and a structured guide in a remote outdoor setting, the value starts to make sense.
The best value here is not just the scenery. It’s the combination of skills, gear, and supervision. You’re paying for a safe way to do something most people only watch from a distance.
Should you book this Wanaka waterfall climb and canyon tour?
Book it if you want a single day that mixes rope skills, waterfall contact, and real scenery—without needing prior experience. The small-group size, beginner teaching approach, and emphasis on safety make it a strong choice for people who are fit, curious, and okay with heights.
Skip it if heights make you panic, you struggle with uneven footing, or you don’t meet the listed age, height, and weight limits. This tour is designed for active movement, not comfort touring.
If you’re ready for wet, wild, and guided—this one is a great match.
FAQ
How long is the Wanaka Waterfall Climb and Canyon Tour?
The tour lasts 6 hours, with up to about 5 hours of active time.
Do I need prior abseiling or climbing experience?
No. You do not need previous abseiling or climbing experience, but you should be fit and able to follow instructions on steep, exposed terrain.
What skills will I learn during the tour?
You’ll learn climbing and abseil skills, with safety training and rope-descending instruction during the experience.
What’s included in the price?
The tour includes an experienced professional guide, safety training, safety equipment, a wetsuit, wetsuit socks, and lunch.
What should I bring with me?
Bring swimwear, a towel, hiking shoes (to get wet), and water.
Where do I meet the tour guide?
Meet at a locked farm gate with the local partner’s sign in front of two massive waterfalls. It’s on the Wanaka–Mt Aspiring Road west, about 20 minutes from Wanaka at the cattle stop area.
What are the height, weight, and age limits?
It’s not suitable for children under 14. It also has height and weight limits: under 120 cm, under 40 kg, or over 100 kg.
Can I cancel or pay later?
Yes. You can cancel up to 24 hours in advance for a full refund, and you can reserve now and pay later.