REVIEW · WANAKA
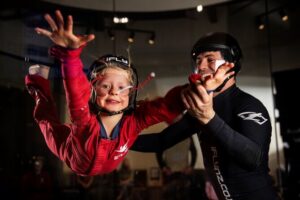
Wanaka: Tandem Skydive Experience
Book on GetYourGuide →Operated by NZONE Skydive & Skydive Wanaka · Bookable on GetYourGuide
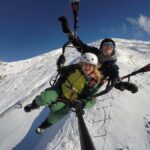
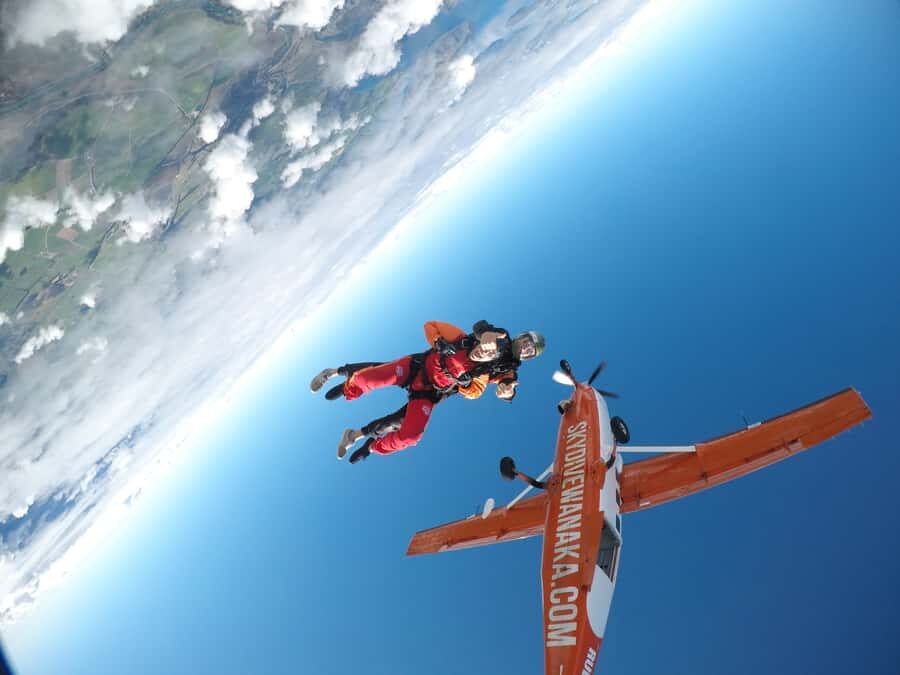
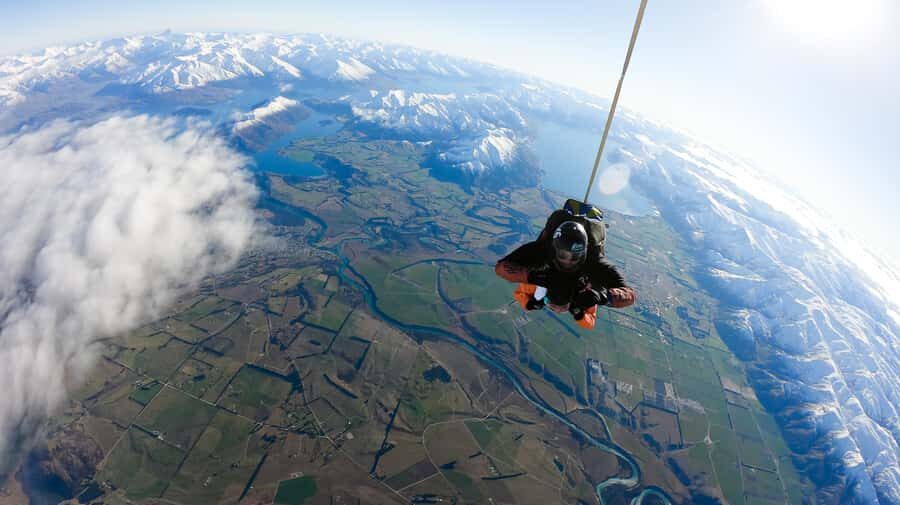
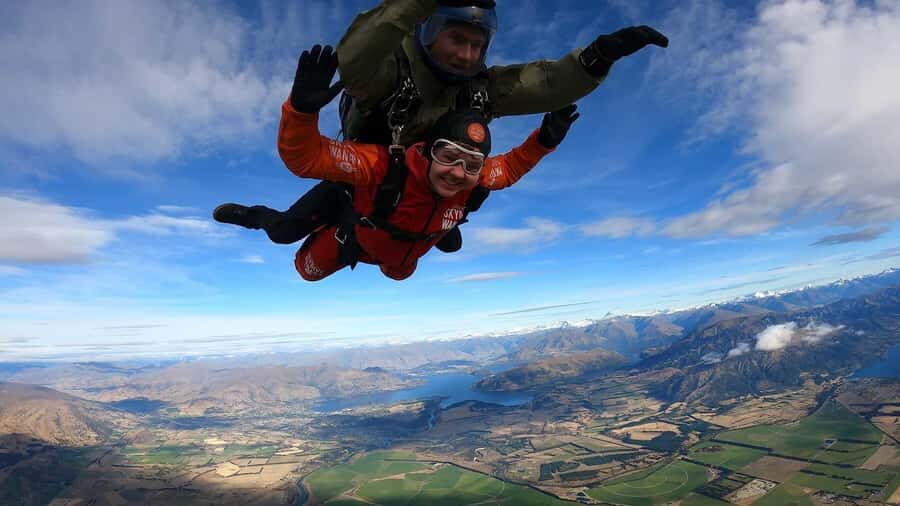
Catching your breath at 15,000 ft is unreal. In Wanaka, a tandem parachute jump turns Central Otago views into a full-on front-row show. You pick your altitude—9,000, 12,000, or 15,000 ft—then you’ll freefall for 25 to 60 seconds at speeds up to 200 kph.
What I like most is the way the experience is paced: briefing, gear, a scenic flight to altitude, then the jump, and finally a smooth canopy ride back down. Another thing I’d highlight is the effort put into safety and smooth operations, with an experienced tandem master and on-site facilities that keep you comfortable while you wait for your turn.
One possible drawback: if you’re bringing a camera or hoping to film on your own, you’ll be stopped—personal cameras aren’t allowed—and the add-on photo/video packages can be a pricey extra.
In This Review
- Key Points
- Why Wanaka Makes This Tandem Jump Feel Like a Best-Case Scenario
- Choosing Your Height: 9,000 vs 12,000 vs 15,000 ft
- The 3-Hour Flow: What Happens From the Door to Touchdown
- The Scenic Flight: Where to Look for Mount Cook, Lakes, and the Clutha River
- The Jump Moment: Freefall at Up to 200 kph
- Under Canopy: Smooth Flight and the Parts You’ll Actually Remember
- Photos, Video, and the Wait After Landing
- Safety, Gear, and the Tandem Master Standard
- Getting There in Wanaka: Pickup Points and Timing That Actually Matter
- Price and Value: Is $214 a Good Deal for a Wanaka Tandem Jump?
- Who Should Book This Tandem Parachute Jump—and Who Should Skip
- Should You Book This Tandem Jump in Wanaka?
- FAQ
- What altitudes can I choose for the tandem jump?
- How long is the freefall and how fast do you go?
- How long is the canopy flight?
- Are photos and video included in the price?
- Can I bring my own camera?
- What should I bring?
- What are the age and weight limits?
- Can children jump from all altitudes?
- Is pickup included, and where do I meet?
- What if I need to cancel?
Key Points
- Pick your height (9,000, 12,000, 15,000 ft) and match the jump to your nerves and your schedule
- See Mount Cook, Mount Aspiring, alpine scenery, lakes, and the Clutha River from the plane and again after deployment
- Fast freefall for 25 to 60 seconds (up to 200 kph) followed by a smooth canopy flight
- All gear included, plus lockers and drop-zone Wi-Fi to help you chill before and after
- Top praise for professional tandem masters, with names like Chris, Lucas, Ben, Rory, Jamie, and Daniel showing up repeatedly
- Optional edited photo/video only, since you can’t bring your own camera
Why Wanaka Makes This Tandem Jump Feel Like a Best-Case Scenario
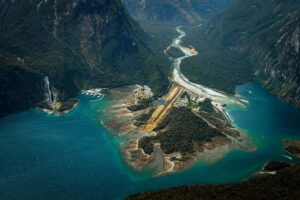
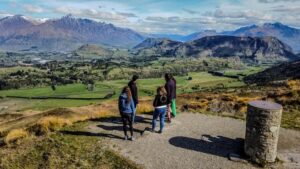
Wanaka is one of those South Island places where the scenery looks dramatic even on a calm day. For a tandem parachute jump, that matters. You’re not just dropping out of a plane—you’re flying over a big-view part of New Zealand, with mountain shapes, glacier-fed lakes, and wide valleys that are easy to spot and follow while your instructor narrates where you are.
The experience is built around that wow-factor. During the scenic flight (about 20 minutes), your tandem master points out landmarks like Mount Cook and Mount Aspiring, plus the Southern Alps, multiple lakes, and the Clutha River. Then, after the jump, you get another chance to take in the same region from a different angle, at a speed that makes it feel like the world got turned up a notch.
You’ll also like the practical side if you’re not into chaos. The operation is set up for a smooth flow: check in, briefing, equipment fitting, then time in the air, followed by de-gearing and access to lockers and Wi-Fi. That combination is how you get adrenaline without the stress of guessing what happens next.
Other Queenstown skydive we've reviewed in Wanaka
Choosing Your Height: 9,000 vs 12,000 vs 15,000 ft
You choose your jump altitude, and that choice changes the feel of the whole day. The big promise is that you’ll freefall for 25 to 60 seconds, depending on which height you pick, with speeds up to 200 kph. Higher generally means more time in freefall and more time to take in the region before you’re under canopy.
Here’s how to think about it in real terms:
- If you want the classic first-timer hit of excitement without thinking too hard, 9,000 ft is a solid option, and it’s the only altitude option for kids under 12.
- If you want a bigger “from the plane to the drop” experience, 12,000 ft is often the sweet spot for more dramatic views and a longer freefall moment.
- If you’re chasing maximum intensity (and you’re comfortable with nerves), 15,000 ft is the highest choice and tends to be the one people remember most.
Weight and age rules also affect what height you can realistically choose. The minimum age is 6, with a minimum weight of 30 kg / 66 lb, and a maximum weight of 115 kg / 254 lb. If you’re traveling with kids, note that children 12 and under can only jump from 9,000 ft, even if they’re old enough for the activity.
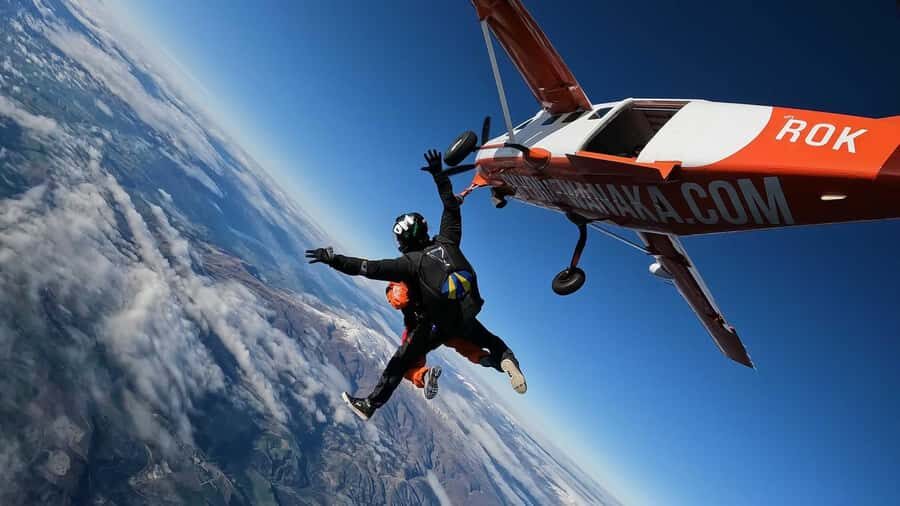
The 3-Hour Flow: What Happens From the Door to Touchdown
The total time on the schedule is about 3 hours, and it feels like it moves in phases. First you walk in and meet the crew. Expect a real briefing (not just a quick rundown), plus time to get geared up. You’ll be fitted into the harness and gear before you head to the plane.
Then comes the waiting-and-anticipation part, which is why the drop zone facilities matter. You’ll have on-site lockers for valuables and access to internet kiosks and free Wi-Fi. That’s useful if you want to text family, post a quick update before the jump, or just keep your mind busy so you don’t spiral into pre-jump nerves.
A tandem master will do an assessment at the drop zone, and the operation is strict about fit. That’s a good thing. Everything has to work properly for the harness, and the team will confirm you fit securely before you climb into the aircraft.
One more practical note: personal cameras aren’t allowed. If you want photos and video, you’ll be purchasing the edited photo/video package on check-in.
The Scenic Flight: Where to Look for Mount Cook, Lakes, and the Clutha River
About 20 minutes in the air is when the trip stops feeling like an extreme activity and starts feeling like a tour. Your instructor will point things out as you rise above the area, and the landmarks are the kind you can recognize even if you’re not a geology nerd.
What they’ll call out includes:
- Mount Cook
- Mount Aspiring
- The Southern Alps
- Multiple lakes
- The Clutha River
This is also where having a great instructor makes a difference. A big thread in the feedback is that tandem masters are professional and good at calming nervous first-timers. Names that come up often include Chris (praised for professionalism and energy), Lucas (praised for an easy, first-timer vibe), and Ben (praised for making the experience feel comfortable rather than scary).
If you tend to overthink, focus on small tasks: listen for the landmarks, breathe steadily, and keep an eye on the instructor’s cues. Before you know it, it’s time to exit.
The Jump Moment: Freefall at Up to 200 kph

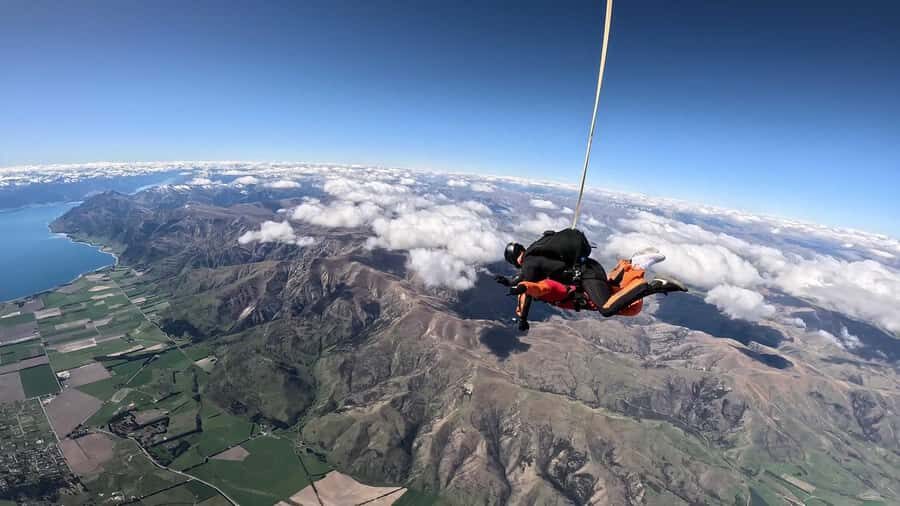
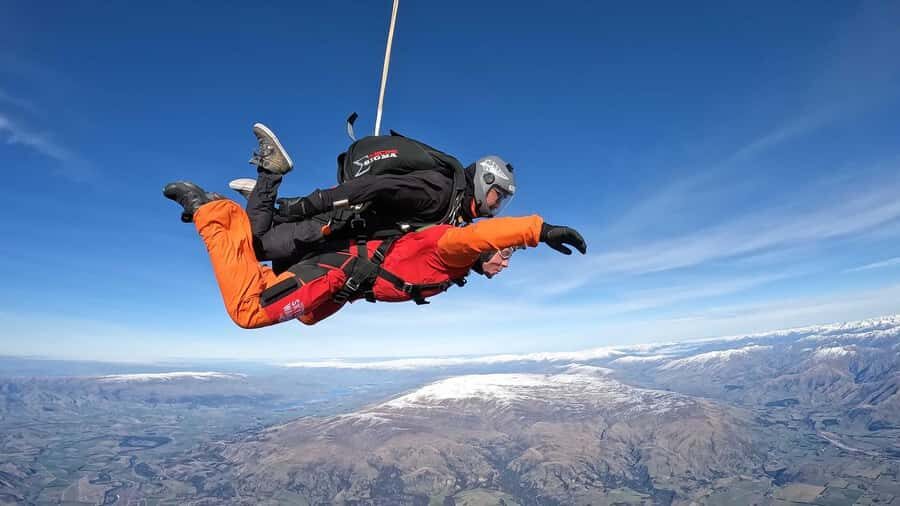
The exit is the obvious headline, but the way it’s done matters. You’ll be briefed so you know what to do, then you’ll jump from your chosen altitude. The key numbers: 25 to 60 seconds of freefall and up to 200 kph.
That first rush can be intense. Even if you’ve watched videos online, real freefall has a physical feel—wind pressure, adrenaline, and a rapid change from calm sitting to full-body motion. The good news is that it’s tandem: your instructor is trained to handle position and stability, and you follow their lead.
One consideration: if you’re prone to motion sickness, keep it in mind. One booking note mentioned that once the parachute deploys, the spinning motion can be a lot for people who get nauseous easily. You can’t control the physics, but knowing this ahead of time can help you decide whether to prepare with your own motion-sickness plan.
Other Wanaka tours we've reviewed in Wanaka
Under Canopy: Smooth Flight and the Parts You’ll Actually Remember
After freefall, the parachute opens and you transition into the canopy portion. You’re looking at a smooth flight under canopy that lasts about 5 minutes as part of the included experience.
This is the part where your brain catches up. In freefall you’re reacting. Under canopy you can actually look around and take the region in. It’s the time to study what you saw from the plane—mountain ridges, lakes, river lines—and notice how the shapes change when you’re moving more slowly.
Even with that calmer pace, the body still feels wind and motion. If you’re someone who gets spooked by sudden sensations, focus on the routine: keep your eyes where the instructor indicates, and follow their instructions for posture and handling any grips or touches.
When you land back at the drop zone, you’ll be de-geared and sent toward the next step—photos and video review.
Photos, Video, and the Wait After Landing
Here’s the deal: photos and video aren’t included in the base price. You can buy the package at check-in, and you’ll then wait for your edited video and photos after the jump. The operation is set up so you can plug your video into a computer back on site and relive the moments with your friends and family.
This matters because you can’t bring your own camera. So if your dream is a keepsake you can share later, budget for the add-on. People named Vance and Rory show up in feedback tied to the camera work and overall experience, which hints that the photo/video team is part of the day’s pacing—not an afterthought.
If you’re trying to keep costs tight, you can still enjoy the jump fully without the add-on. You’ll have the memory and the view. Just know the base price is for the jump and included gear, not for the edited media file.
Safety, Gear, and the Tandem Master Standard
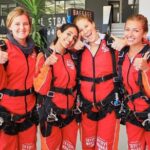
Safety is the foundation here, and the operation is set up around it. You’re assessed at the drop zone, and you have to fit securely into the harness. The included equipment list is pretty complete: jumpsuit, frap hat, goggles, gloves, and harness. Closed-toe shoes are required, and the crew will gear you up from there.
A helpful way to judge whether you’re in good hands: pay attention to how they handle the checks. In feedback, people repeatedly mention the thoroughness—gear being double checked, safety being explained clearly, and the staff keeping things professional even when you’re buzzing with nerves.
In particular, some tandem masters are repeatedly named with praise for professionalism and calm instruction. Chris is often credited with relaxing first-timers. Lucas gets mentioned for being supportive and making the leap feel straightforward. Ben and Rory show up for friendly, reassuring guidance. Jamie and Daniel are also credited with making it a fun, smooth experience.
You don’t need celebrity names to be safe. But it’s a reassuring sign when an operation consistently gets good notes about training style and safety culture.
Getting There in Wanaka: Pickup Points and Timing That Actually Matter
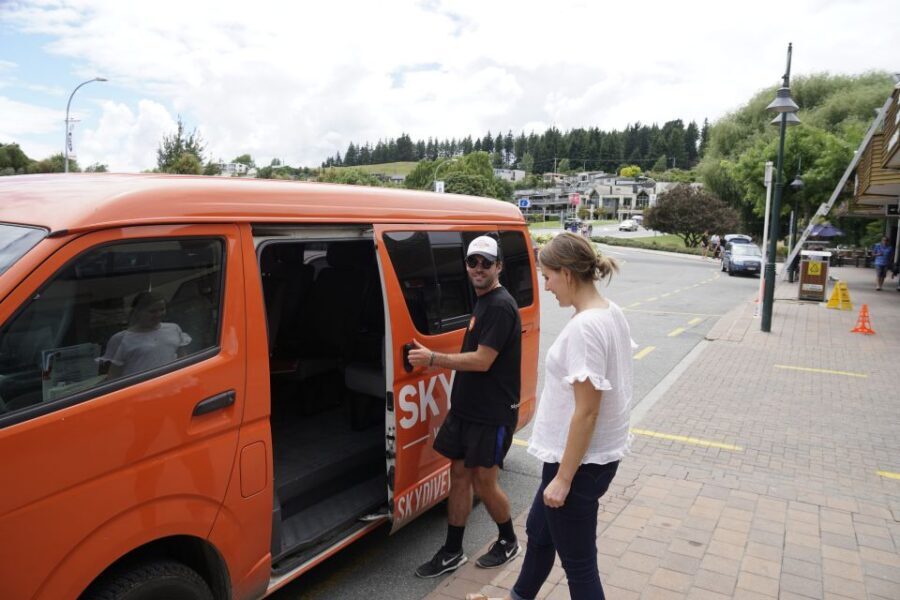
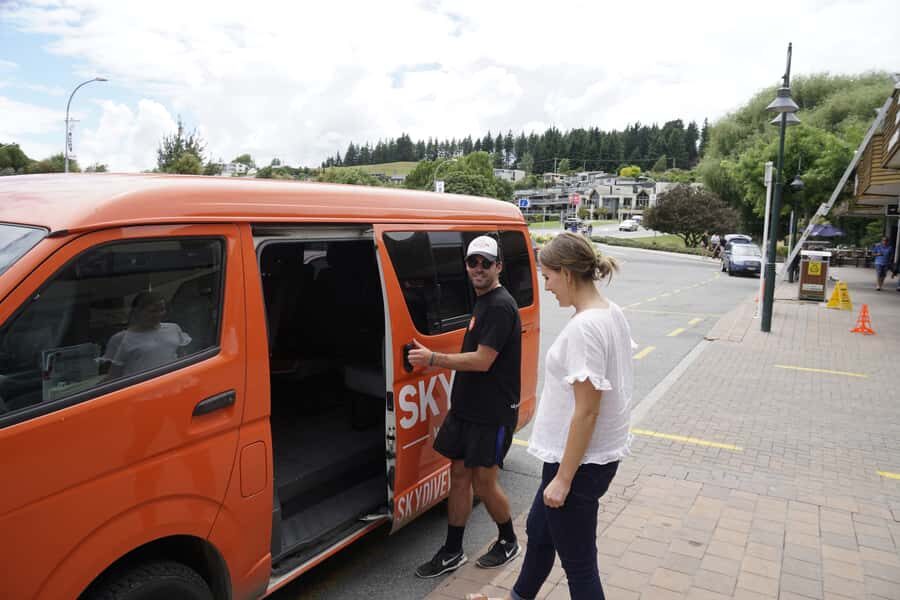
Transport is part of the value here. The activity includes pickup, but the meeting point depends on how you’re getting there.
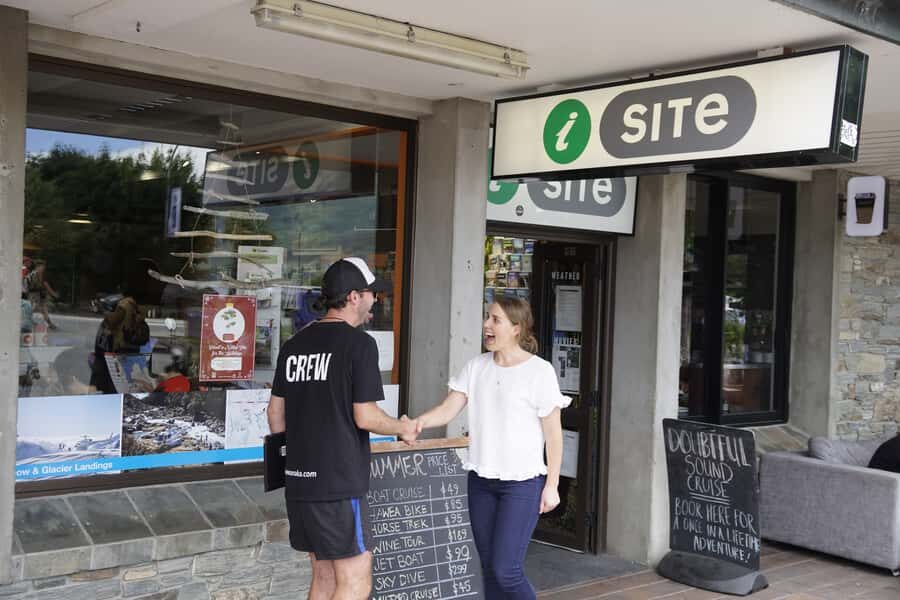
If you’re driving yourself, meet at 14 Mustang Lane about 20 minutes prior. If you’re using return transfers, you’ll meet outside Wanaka i-Site about 30 minutes prior. That timing window matters because the day runs in phases, and the harness fitting and briefing need to happen before the aircraft timetable.
One small caution from a booking note: there can be waiting time for shuttles after you land. One person mentioned about 40 minutes before the shuttle back. It wasn’t portrayed as chaotic, just something to plan around so you’re not checking your watch every minute.
Price and Value: Is $214 a Good Deal for a Wanaka Tandem Jump?
At $214 per person, you’re paying for a full package: the jump from a selected altitude (9,000/12,000/15,000 ft), 25 to 60 seconds of freefall, about 5 minutes under canopy, an experienced tandem master, and all safety equipment. Add on-site lockers and the drop zone facilities (internet kiosks and free Wi-Fi), and you’re also buying a well-run, safety-focused setup—not just a plane ticket.
Where the price can feel like it climbs: photo and video aren’t included. So if you decide you want the edited keepsake, you’ll pay extra at check-in. That choice is personal. If you’re the type who always wants the proof, plan for it. If you’re more of a “memory is enough” person, skip it and put that money toward another Wanaka experience.
Is $214 worth it? For me, the value comes from what’s actually happening in those few hours: you get a high-altitude jump, guided narration over big landmarks, and a full safety system that handles gear, harness fit, and procedure.
Who Should Book This Tandem Parachute Jump—and Who Should Skip
This is best for people who want:
- A first-time jump with expert guidance
- Big scenery and a narrated view of the Southern Alps, Mount Cook, Mount Aspiring, plus lakes and the Clutha River
- A clear structure: briefing → flight → freefall → canopy → de-gearing
It’s not a match if you fall into the activity’s limits:
- Children under 6
- Pregnant women
- Anyone over 115 kg / 254 lb
- Anyone under 30 kg / 66 lb
- Kids 12 and under can only jump from 9,000 ft
Also think about how you handle wind, sudden motion, and adrenaline. The freefall is fast. The canopy is calmer, but it’s still movement in the air. If motion sickness tends to hit you, consider preparing for that moment.
Should You Book This Tandem Jump in Wanaka?
I’d book it if you’re in Wanaka (or passing through) and you want a bucket-list moment that’s tightly run and built around the region’s biggest landmarks. The combination of altitude choice, real freefall time, and the narrated flight over Mount Cook and the Southern Alps makes this feel like more than a thrill ride.
Don’t book it if you’re hoping to bring a camera, want to avoid extra spending on photo/video, or you know motion sickness is a problem for you. Also, if the altitude choice feels stressful, start lower—9,000 ft is still a full experience.
If you want my practical call: treat this as a signature Wanaka activity. Do it early in your trip window if you have flexibility, so you’re not stuck if weather or scheduling affects your jump day.
FAQ
What altitudes can I choose for the tandem jump?
You can choose to jump from 9,000, 12,000, or 15,000 feet.
How long is the freefall and how fast do you go?
Freefall lasts 25 to 60 seconds, and speeds can reach up to 200 kph.
How long is the canopy flight?
You get about 5 minutes flying under canopy.
Are photos and video included in the price?
No. Photo and video packages are available to purchase at check-in.
Can I bring my own camera?
No. Cameras are not allowed.
What should I bring?
Wear closed-toe shoes.
What are the age and weight limits?
Minimum age is 6. Minimum weight is 30 kg / 66 lb. Maximum weight is 115 kg / 254 lb.
Can children jump from all altitudes?
Children 12 years and under can only jump from 9,000 ft.
Is pickup included, and where do I meet?
Pickup is included. If self-driving, meet at 14 Mustang Lane about 20 minutes prior. For return transfers, meet outside Wanaka i-Site about 30 minutes prior.
What if I need to cancel?
You can cancel up to 24 hours in advance for a full refund. There can also be weather-related changes that affect timing.