REVIEW · LAKE WANAKA
Wanaka: Self-Guided Regular MTB – Lake Hawea to Lake Wanaka
Book on GetYourGuide →Operated by Wanaka Bike Tours · Bookable on GetYourGuide
Wanaka gets busy fast. This ride gives you the same big views with far fewer people in your way. I like that it’s truly self-guided, so you set your pace, take breaks when you want, and still get a solid setup before you start.
Two things I especially value: you get the full bike + helmet + lock package and a proper trail briefing with photos and maps, so you’re not guessing. Also, the route mixes riverside walking-bike ease with the big Wanaka highlight ending at the Wanaka Tree.
One thing to consider: it’s not a guided pedal-by-pedal tour, so if you want constant commentary, you’ll need to rely on the materials and your own pace rather than a live narration the whole way.
In This Review
- Key points to know before you go
- Getting set up outside I-site: start easy, ride confident
- Shuttle to Hawea: the smart warm-up before the river track
- Hawea River Track to Albert Town: where the day stays relaxed
- Following the Clutha River back toward Lake Wanaka
- The swing bridge and Wanaka Tree finish: the best photo payoff
- Distance, time, and pacing: what 150 minutes can realistically feel like
- Bike support and the self-guided safety net
- Price: $71 worth it when you price in the full package
- What to bring (and what to skip) for comfort
- Family cycling details: bike size and attachments
- Is it right for you? Best-fit riders and who should skip it
- My booking verdict: should you ride Lake Hawea to Lake Wanaka?
- FAQ
- How long is the Wanaka self-guided ride from Lake Hawea to Lake Wanaka?
- How far do I ride?
- Where do I meet the team before the ride?
- Do I get transported to Lake Hawea?
- What equipment is included?
- Is the ride fully self-guided?
- What should I bring?
- Are there biking options for children?
- Is this experience suitable for everyone with mobility needs?
- How many people are in the group?
Key points to know before you go
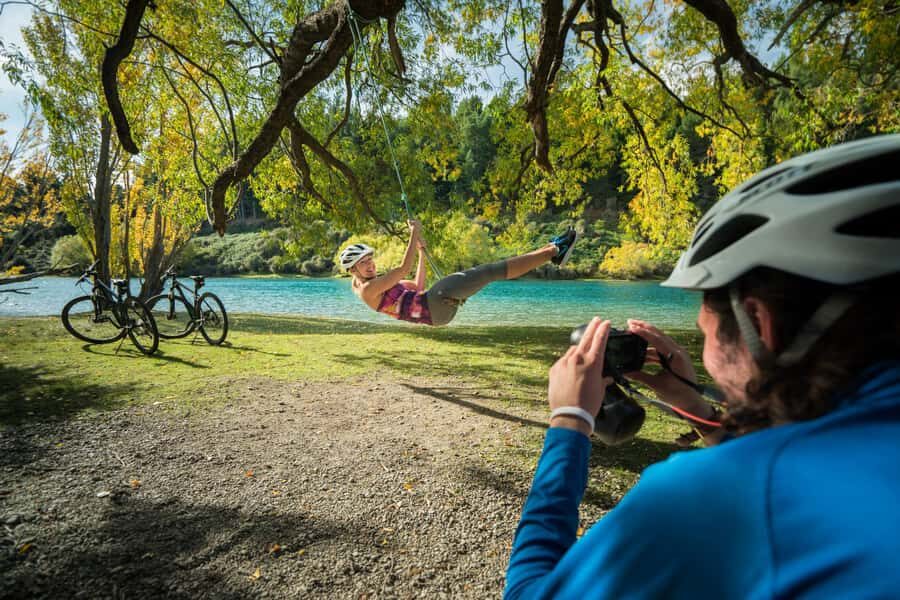
- Self-guided pacing on a 30 km ride, so you can move fast or slow as your legs allow
- Shuttle to Lake Hawea means you start with less effort and finish closer to town
- Cross the swing bridge and ride through the Wanaka end-of-route photo moment by the Wanaka Tree
- Albert Town stops give you realistic chances for coffee runs and quick refreshment breaks
- A small group (up to 10) helps everything stay organized when you’re getting fitted
Getting set up outside I-site: start easy, ride confident
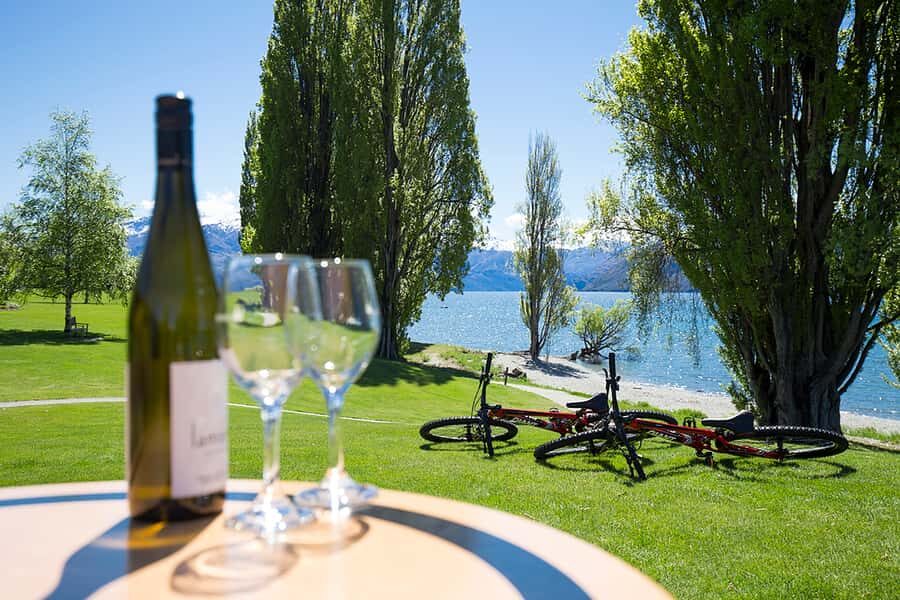
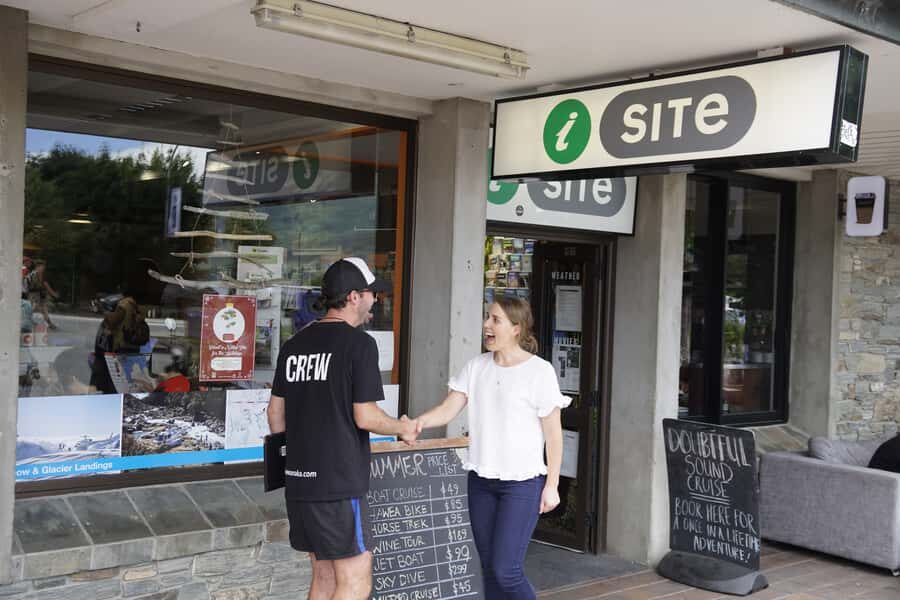
Your day starts in central Wanaka at 101 Ardmore Street, meeting outside the I-site at 103 Ardmore St. The team fits you with the right mountain bike and goes over safety before you roll. This matters because you’re on your own once the ride begins, so you want your gear and route confidence locked in early.
Expect an equipment fitting, plus a safety briefing with photos and maps. If you’ve ever started a self-guided ride and felt like you were “reading signs while cycling,” you’ll feel the difference here: the briefing is meant to get you oriented fast.
You’ll also get the basic rhythm of the day: a shuttle to Hawea first, an easy riverside start, then a longer return toward Wanaka with photo stops. The whole thing is designed as a smooth off-ramp from city life into open water-and-mountain air.
If you're still narrowing it down, here are other tours in Lake Wanaka we've reviewed.
Shuttle to Hawea: the smart warm-up before the river track
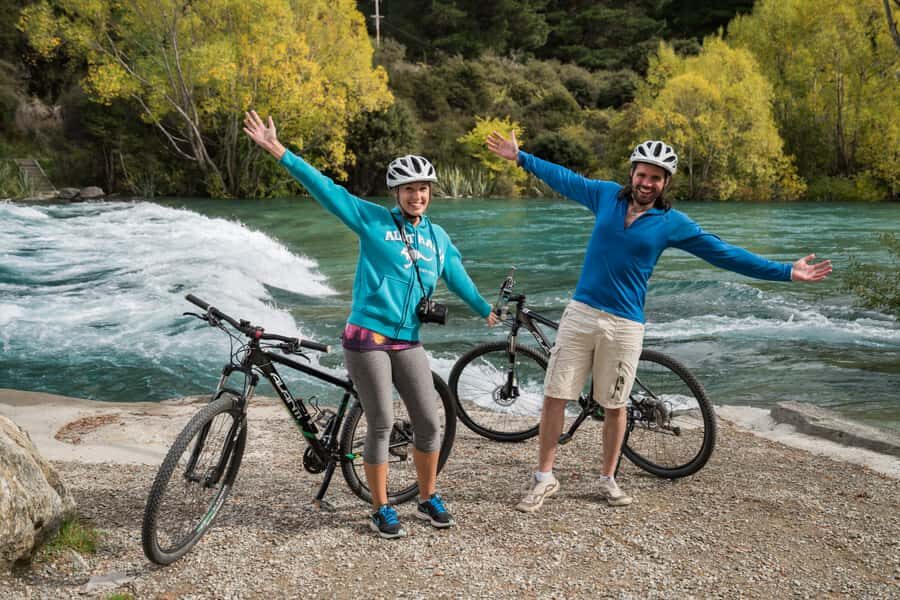
After you meet the team, you’ll take a 30-minute shuttle to the neighboring lakeside town of Hawea. I like this approach because it keeps your ride from turning into a “how do I get out there” workout.
Once in Hawea, you start with the Hawea River Track, an easy riverside amble through mountainous surroundings. This is where you can settle into rhythm: check your brakes, get comfortable with the seat height, and find your breathing pace before the route gets longer.
If you’re riding with kids or first-time cyclists, this riverside start helps a lot. You’re not thrown straight into distance before you know how the bike handles.
Hawea River Track to Albert Town: where the day stays relaxed
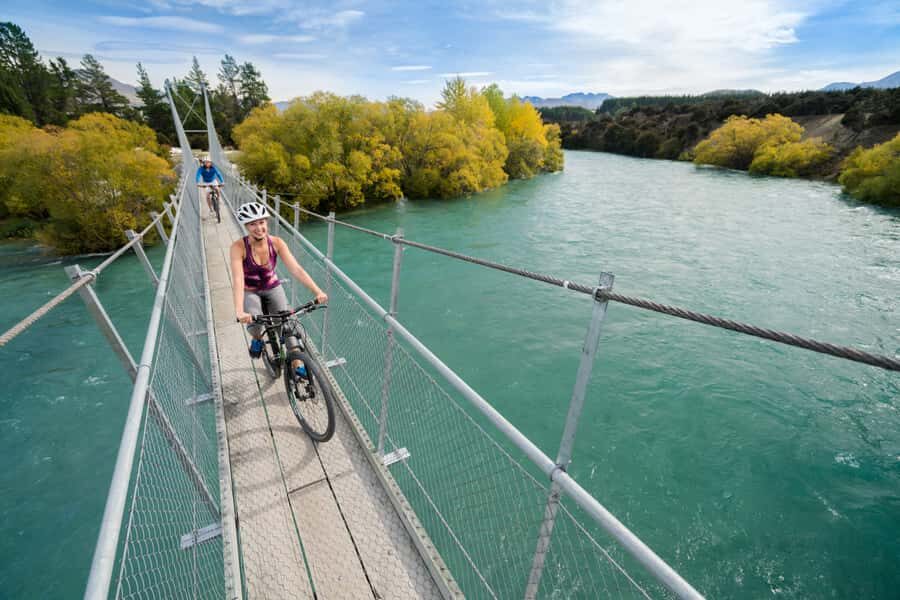
The route leaves Hawea along the Hawea River Track, which is positioned as an easy ride rather than a technical grind. You’re cycling with water nearby and wide sightlines, which is a great combo for keeping stress low and focus high.
As you continue, the plan takes you past Albert Town, where there are places to grab refreshment. This is a practical section for coffee, snack, or even just a quick reset when you want a break without pulling off for a full detour.
What I like about this segment is the balance: you’re not stuck cycling only through “boring flatness.” You have scenery pressure relief from the river setting, while still moving steadily toward the larger Wanaka area.
One small reality check: you still have 30 km to cover, so breaks are great, but don’t lose momentum to the point where you feel rushed at the end.
Following the Clutha River back toward Lake Wanaka
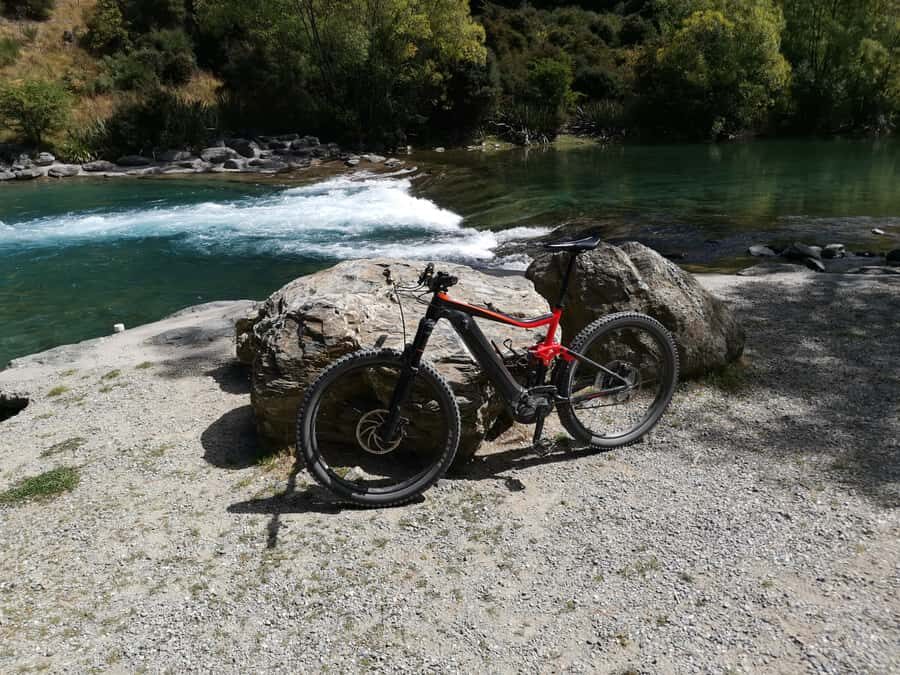
After Albert Town, the route continues along the Clutha River toward its source area near Lake Wanaka. This stretches your ride from “scenic stroll energy” into “steady ride with a payoff.”
Cycling alongside a major river is one of those experiences that feels simple in theory and satisfying in practice. It gives you long sightlines, changing light, and a sense of movement even when the terrain stays manageable.
This portion is also where the self-guided format matters most. You’ll be using the maps and trail briefing to stay oriented, and the fact that the route is meant to be the most popular bike trip in Wanaka helps you trust that the signage and trail logic are straightforward.
Keep your pace steady here. Save your big effort for the final photo-heavy stretch around Wanaka, where you’ll likely want time to stop without worrying about whether you can still make it back.
The swing bridge and Wanaka Tree finish: the best photo payoff
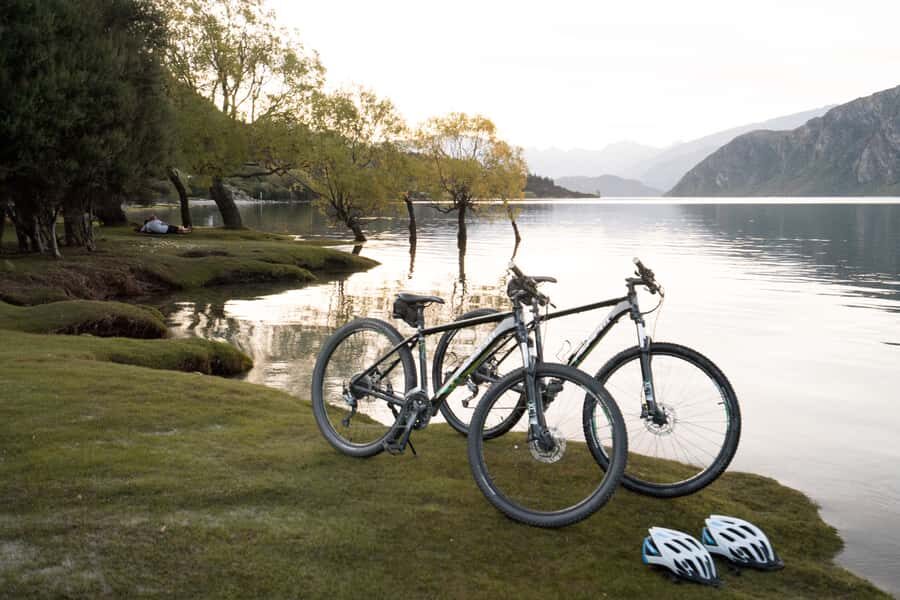
The last stretch brings you to a lakeside trail back into Wanaka township, where the classic finish waits: the famous Wanaka Tree. This is the moment that makes the ride feel like more than just a long cycle—it turns into a “we did it” ending.
You’ll also cross the swing bridge, which is one of those features that changes the ride from quiet scenery into something memorable. Even if you’re not thrilled by heights, a swing bridge moment adds excitement without making the day technical.
And yes, you’ll have reason to celebrate at the end. You can expect ice cream and time to get those iconic Wanaka photos without turning the whole ride into a traffic jam.
The smart move: plan your last big snack earlier than you think. If you wait until the Tree area, the excitement can push you to linger, which is fun, but you’ll want to keep your timing comfortable if you’re meeting a group departure rhythm.
Distance, time, and pacing: what 150 minutes can realistically feel like
This ride is listed as 150 minutes (about 3 hours) for the full experience, covering roughly 30 km. In plain terms, that’s a moderate time on the bike, not a sprint.
Here’s how I’d pace it to feel good: treat the Hawea River Track as your warm, then ride steadily through the Clutha section, and keep an easy buffer for the swing bridge plus lakeside return. Because it’s self-guided, your timing depends on how often you stop.
If you’re the kind of rider who likes photos, you may stretch the ride a bit beyond the base timeframe. That’s not a problem as long as you keep your water and energy sorted.
A key practical tip: bring plenty of water. You’ll have a bottle cage, but bottles aren’t provided, so don’t count on getting one from staff on the road. Wind and sun can both catch you in New Zealand lake country.
Bike support and the self-guided safety net
Even though this is self-guided, you’re not totally on your own. You’ll receive a briefing with maps and photos, and the team is available for technical support if something goes wrong.
That hybrid setup is exactly why I think this works well. You get the freedom of setting your pace, but you also have a fallback if you get a flat, a mechanical issue, or you feel uncertain about where you’re going.
It also helps for families. If you’re riding with children, you’ll likely want reassurance at least once during the day. Staff check-in after the ride is part of the vibe, and it’s the kind of small safety feeling that makes a big difference.
Price: $71 worth it when you price in the full package
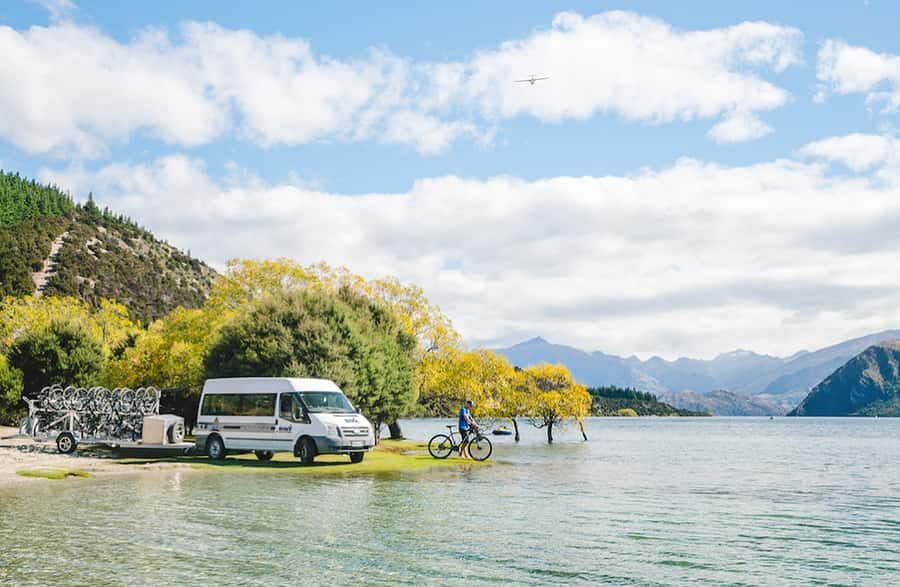
At $71 per person, this doesn’t just buy “a bike ride.” You’re paying for a bundle: the latest-model mountain bike, helmet, bike lock, the shuttle from Wanaka to Hawea, and the trail briefing with photos and maps. That’s a lot of service built into the cost.
If you had to piece it together yourself—bike hire, helmet, lock, transport out to Hawea, and a route-planning setup—it usually adds up quickly. Here, the value is in removing friction, so you can spend the day riding instead of organizing.
Also, the 150 minutes timeframe is a good length for a half-day plan. You get a satisfying distance and the Wanaka highlights without needing a full-day transport commitment.
Bottom line: if you want an easy logistics win and you’re comfortable following route materials, the price feels fair for what’s included.
What to bring (and what to skip) for comfort
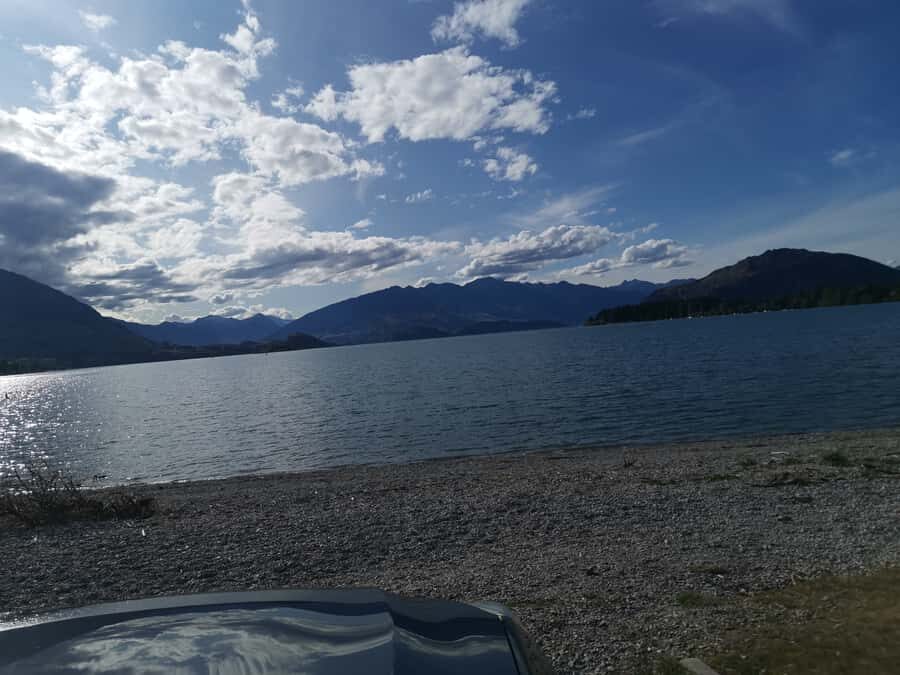
The basics are spelled out, and you’ll thank yourself for packing them. Bring comfortable shoes, a windbreaker, and sunscreen. Also bring a water bottle, plus a cell phone and camera if you want to capture the bridge and Wanaka Tree moment.
You’ll also want cash and/or a little spare change. Coffee and refreshment stops are part of the day, especially around Albert Town and back in Wanaka.
Sturdy, breathable cycling clothing helps. Activewear is best because you’ll be moving for hours, and you might feel chilly early and then warmer once you’re warmed up and moving along the river sections.
And don’t forget a small backpack if you want to keep your essentials together without cramming them into pockets.
Family cycling details: bike size and attachments
This is a family-friendly concept, but sizing is handled carefully. If adults are riding with children under 13 who are between 130–145 cm, kids are allocated a 24-inch bike. Children over 145 cm use adult bikes, so they should be booked as an adult.
For younger kids, there are attachment options: child seats, tag-along bikes, or bike trailers depending on age. If you’re booking, add comments so the team can prepare the right setup.
If you’re traveling with kids and want them on the bike without turning the day into a car shuttle loop, this is a huge advantage. You still get to enjoy the scenery while keeping the group moving as one.
Is it right for you? Best-fit riders and who should skip it
This tour fits best if you want a popular Wanaka ride route but prefer doing it at your own speed. It’s also ideal if you’re comfortable riding a mountain bike for 30 km and following mapped, self-guided directions.
It’s less of a fit if you have mobility limitations, since the ride is not suitable for people with mobility impairments.
I’d also say this is a good choice for people who like a clean structure: you start with guidance, you ride freely, and you finish at a destination with obvious rewards (Wanaka Tree, ice cream, town access).
If your idea of fun requires constant verbal narration all day, you might feel a bit unfulfilled by the self-guided format. But if you enjoy the outdoors and want control over stops, it’s a great match.
My booking verdict: should you ride Lake Hawea to Lake Wanaka?
If you’re planning a Wanaka trip and you want one ride that checks the key boxes—scenery, manageable pace, and iconic landmarks—this is a strong pick. The value is in the package: bikes and safety briefing are included, you get a shuttle to the start, and the route is planned as an enjoyable 30 km self-guided day.
Book it if you can ride at a steady pace, bring water and a wind layer, and you’re happy to follow maps rather than listen to commentary the entire time. Skip it if constant guidance is your must-have, or if mobility limitations make cycling difficult.
For most people visiting Wanaka, this hits the sweet spot: classic sights at the end, calmer river riding in the middle, and just enough support that you can relax.
FAQ
How long is the Wanaka self-guided ride from Lake Hawea to Lake Wanaka?
The experience runs for about 150 minutes, or roughly 3 hours.
How far do I ride?
You cover about 30 km on the self-guided route.
Where do I meet the team before the ride?
Meet outside the I-site in central Wanaka at 103 Ardmore St, Wanaka 9305. The starting location is listed as 101 Ardmore Street.
Do I get transported to Lake Hawea?
Yes. You get a shuttle from Wanaka to Hawea before the cycling starts.
What equipment is included?
You’ll be provided with a latest-model mountain bike, a helmet, and a bike lock.
Is the ride fully self-guided?
Yes. The ride is self-guided, but you receive a trail briefing with photos and maps, and the provider is available for technical support.
What should I bring?
Bring comfortable shoes, a windbreaker, sunscreen, water, comfortable clothes, cash, and a cell phone/camera if you want them for stops and photos. You should also bring a spare change for coffee stops.
Are there biking options for children?
Yes. Depending on the child’s age and height, you may have a 24-inch bike allocation, a child seat, a tag-along bike, or a bike trailer. Add comments during booking so the right attachment is prepared.
Is this experience suitable for everyone with mobility needs?
No, it is not suitable for people with mobility impairments.
How many people are in the group?
It’s a small group with a limit of 10 participants.