REVIEW · QUEENSTOWN
Arrowtown to Queenstown Full-Day Bike Adventure
Book on Viator →Operated by Around The Basin Bike Queenstown · Bookable on Viator
Bike day, with big views, in New Zealand.
I love the way this ride strings together classic Queenstown scenery without feeling like a rushed tour. You start with a one-way shuttle from Queenstown to Arrowtown, then pedal your own pace toward the Lake Wakatipu shoreline on the Queenstown Trail. The main consideration is that the route includes hills and gravel sections, so you’ll want to be comfortable cycling off-road and descending safely.
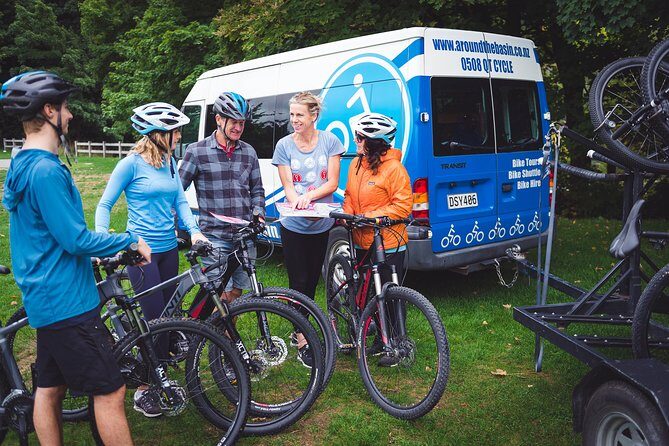
What makes the experience feel easy to manage is the setup. You get a mountain bike or e-bike, a helmet, and a trail map with local tips, plus on-call help if something goes wrong or you need navigation support. You should also plan on a longer day than a casual bike rental: the full experience is about 5 to 7 hours, with ride time commonly around 3 to 4 hours (some riders take up to 6).
Small group size helps too. The tour caps at 11 travelers, and it starts at 3 Searle Lane in central Queenstown, which is convenient if you’re already staying downtown. Just note that food and drinks aren’t included, so bring a snack plan for the hills and photo stops.
In This Review
- Key highlights worth knowing before you pedal
- Why this ride works so well from Arrowtown to Queenstown
- Price and what you actually get for $58.95
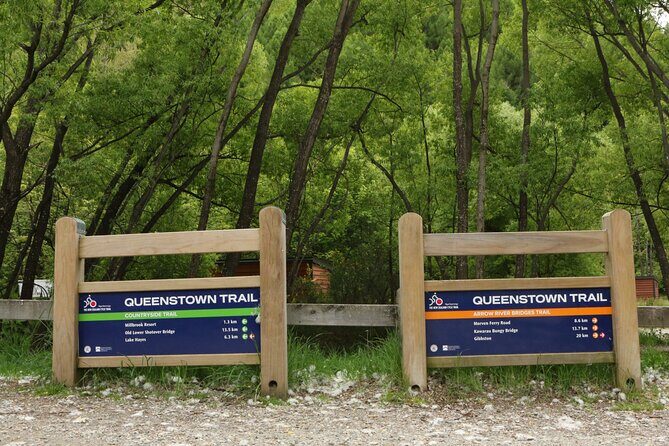
- The route in plain English: rivers, bridges, and lake-edge momentum
- Start: Queenstown to Arrowtown by shuttle
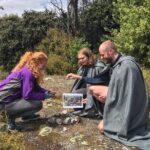
- Stop 1: Arrowtown (grab coffee and settle in)
- The riding begins: Arrow River Trail to Morven Ferry
- Twin Rivers Trail: Kawarau and Shotover to Lake Wakatipu
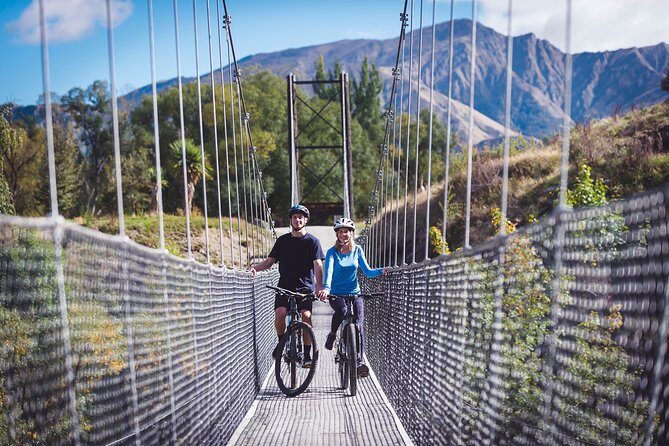
- A major viewpoint: Lower Shotover Bridge
- Stop 2: Frankton (snacks, cafés, and a brewery near the marina)
- Final stage: a gentler ride along the lake edge into Queenstown
- How long it really takes (and how to plan your day)
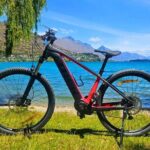
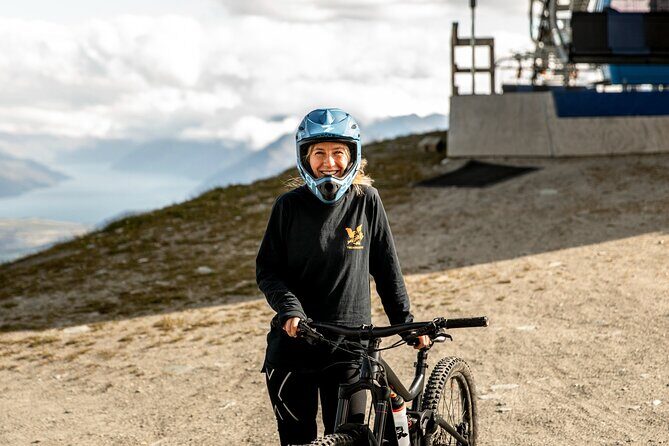
- Bike choice: e-bike vs standard bike in real terms
- Safety and trail manners on gravel descents
- What to pack so you’re not stuck doing math mid-ride
- Who should book this ride, and who should skip it
- Should you book this Arrowtown to Queenstown bike adventure?
- FAQ
- How long is the Arrowtown to Queenstown bike adventure?
- Do I need an e-bike, or can I ride a regular bike?
- Is this self-guided or do I ride with a guide?
- What’s included in the $58.95 price?
- Where do I meet, and where do I finish?
- What happens if the weather is poor?
Key highlights worth knowing before you pedal
- Shuttle to Arrowtown saves time and avoids backtracking
- Arrow River Trail to Morven Ferry kicks things off with river scenery
- Twin Rivers Trail tracks the Kawarau and Shotover rivers toward Lake Wakatipu
- Lower Shotover Bridge is a standout viewpoint for mountain and ski-area views
- E-bike option makes the climbs far more approachable
- Finish back in central Queenstown before 4:30 pm so you can keep the day going
Why this ride works so well from Arrowtown to Queenstown
This is one of those “simple idea, great payoff” activities. You’re not stuck in a bus. You’re not waiting on a pace line. You just roll out along a well-used trail system, stop when you want, and still finish with the reward of arriving in Queenstown instead of circling back.
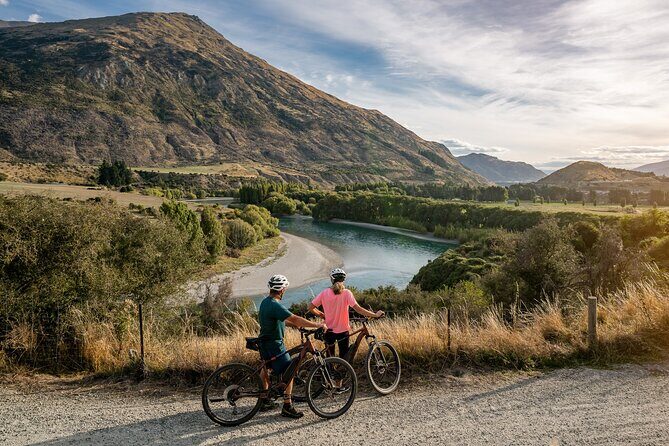
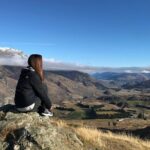
Two things I think you’ll feel right away. First, the scenery changes often. You’ll move from river paths to lake views and backdropped mountain country as you ride. Second, the ride format is stress-free: you get directions and a map, and you’re not locked into a guided script. It’s practical freedom.
Now the real-world part: this is not a flat, cruising-only bike path. The route includes climbs, gravel surfaces, and at least some sections where control matters on downhill grades. If you’ve ridden gravel before, you’ll feel at ease. If you haven’t, choose the e-bike and take those descents slowly.
Other Queenstown tours we've reviewed in Queenstown

Price and what you actually get for $58.95
At $58.95 per person, the value comes from the bundle. You’re paying for the core ingredients that usually cost extra when you try to DIY:
- one-way shuttle from Queenstown to Arrowtown
- a mountain bike or e-bike (with a helmet)
- a trail map and local tips
- on-call support for issues or navigation
Food and drinks aren’t included, and you’re self-guided, not escorted by a cycling guide. But for a ride of this length and for the one-way logistics, the package pricing makes sense—especially if you factor in transport plus gear plus the route guidance.
If you’re on the fence between bike and e-bike, I’d treat it like this: you’re paying to either maximize scenery with less fatigue (e-bike) or get more workout intensity (standard bike). Multiple riders specifically recommend going with the e-bike if you want a more comfortable day and smoother pacing with your group.
The route in plain English: rivers, bridges, and lake-edge momentum
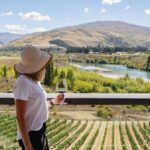
This ride covers about 22 miles (36 kilometers) of varied terrain. Think of it as a trail-hopping journey: river valley first, then Twin Rivers into broader alpine views, and finally a gentler move along the lake edge into central Queenstown.
Start: Queenstown to Arrowtown by shuttle
You meet at 3 Searle Lane in Queenstown. The ride begins with a shuttle to Arrowtown, which is about a 25-minute trip. This is a smart move. It puts you into the day without spending energy on transfers, and it gives you time to set up before you roll.
You’ll also get brief instructions and your map before you start riding. If you’re the type who likes to understand the route before you leave, you’ll appreciate this. A clear plan reduces anxiety on any cycling day.
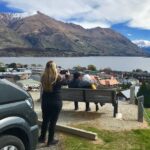
Stop 1: Arrowtown (grab coffee and settle in)
Arrowtown is your first taste of why people love this area. You can grab a coffee, stock up on snacks, and do a short wander of the historic town before you commit to the trail.
What I like about Arrowtown as a starting point is the rhythm. You’re not waking up already in motion. You ease into the experience, then transition from town streets to trail riding.
Other Arrowtown tours we've reviewed in Queenstown

The riding begins: Arrow River Trail to Morven Ferry
Once you start, you follow the Arrow River Trail downstream toward Morven Ferry. Along the way, you ride past bridges and river views. It’s a good warm-up section—enough scenery to distract you, but not so technical that it feels like you’re thrown into a hard ride immediately.
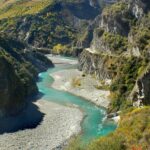
Twin Rivers Trail: Kawarau and Shotover to Lake Wakatipu
Next, the route joins the Twin Rivers Trail. This section tracks the Kawarau and Shotover rivers as you work toward the shores of Lake Wakatipu.
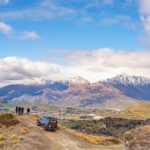
This is also where you start to notice the “alpine backdrop” effect. As the route climbs, the Remarkables mountain range appears in views. The climb itself is part of the reason the e-bike option gets so much love. If you’re standard-bike riding, treat this as the day’s main effort.
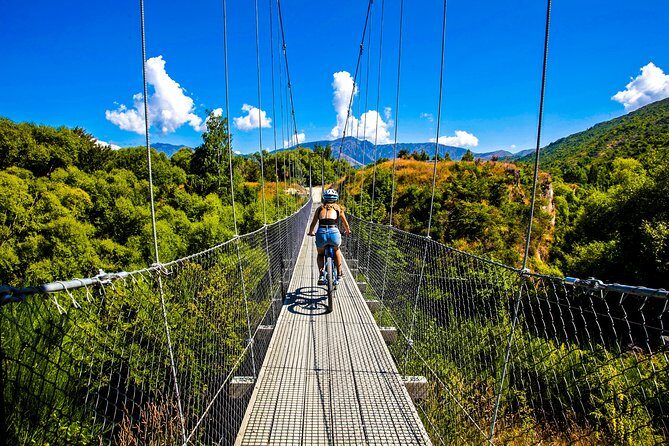
A major viewpoint: Lower Shotover Bridge
Crossing the historic Lower Shotover Bridge is one of the best moments on the route. You’ll get strong views out toward Coronet Peak and the ski-area slopes, plus a sense of scale over the valley and river systems.
If you like photos, this is where you slow down. The bridge crossing is also a natural “reset point” for riders who want a quick mental break after the steeper sections.
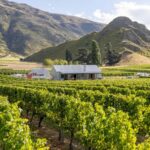
Stop 2: Frankton (snacks, cafés, and a brewery near the marina)
The trail then passes through Frankton, where you’ll find cafés and even a brewery near the Frankton Marina. This is an ideal stop for a snack or a drink because it breaks the ride into two mental chapters. Also, if the group includes mixed fitness levels, this is where you can regroup and decide whether you want to push through or take more time.
Final stage: a gentler ride along the lake edge into Queenstown
The last stretch shifts into something more flowing: a ride along the lake’s edge before finishing back in central Queenstown. It’s the payoff section. Your legs may be tired, but the scenery is doing most of the work to keep you moving.
You finish back at the shop in Queenstown (3 Searle Lane) anytime before 4:30 pm. That end time matters. It keeps this activity from swallowing your entire day.
How long it really takes (and how to plan your day)
The experience runs about 5 to 7 hours overall. Typical biking time is 3 to 4 hours, but some riders take as long as 6 hours depending on fitness, breaks, and how often you stop for photos or food.
So I’d plan like this:
- If you want extra time in Arrowtown, you’ll add to the total day.
- If you ride slower or take lots of viewing stops, you’ll land closer to the longer end of the range.
- If you’re on e-bikes and keep moving, you might come back earlier and still feel like you had a proper outing.
One big takeaway from the rider pattern: e-bikes can let groups stay together more easily. That means fewer “wait, should we stop?” moments and less stress about who’s slowing down.
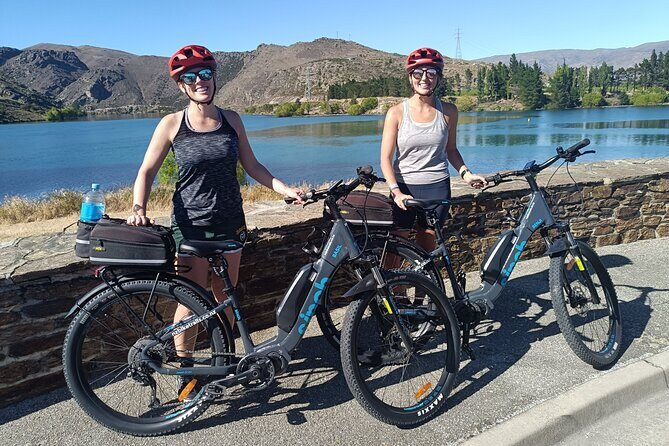
Bike choice: e-bike vs standard bike in real terms
This isn’t a subtle difference. It’s the difference between finishing feeling proud but cooked, versus finishing feeling proud and still chatty.
- Choose the e-bike if your group includes mixed fitness, you want a smoother climb experience, or you’d rather save energy for sightseeing and enjoying stops. Many riders call the e-bike the best way to handle the hills without ruining the day.
- Choose the standard bike if you want a workout and you like the satisfaction of pushing through. Some riders specifically recommend going without the e-bike if you want that butt-burn feeling and a more intense challenge.
Also pay attention to bike comfort. One rider noted a control/safety stress on downhill gravel and another mentioned seat comfort as a factor when switching bikes. Bring your attention to the basics: stable stance, gentle braking, and controlled line choices.
Safety and trail manners on gravel descents
Most of the route is on gravel pathways, with some smaller rural-road sections. That’s normal for this kind of Queenstown Trail riding, but it affects how you ride.
Here’s my practical advice:
- On downhill gravel, slow down before you need to. Don’t wait until you’re already steep.
- Keep your weight ready to balance—gravel can shift traction fast.
- If you’re with teens or anyone new to gravel, agree on a simple rule: ride extra conservatively on descents.
There’s also on-call support if you run into issues or if you need navigation help. Still, the best support is prevention: wear the right shoes and ride within your comfort level.
What to pack so you’re not stuck doing math mid-ride
Food and drinks aren’t included, so plan for them. I like the idea of a small snack stash because you’ll feel better on the climbs and it makes stops more fun instead of stressful.
From the practical notes you’re given, you should also plan on a single backpack per group for carrying snacks. Wear proper sports shoes, bring active gear, and bring a good jacket. Queenstown weather can change, and when you’re moving you still get cooled by wind along the lake and river corridors.
Quick checklist:
- water
- snacks
- sports shoes
- jacket (even if it’s bright in town)
- optional light layers depending on season
Who should book this ride, and who should skip it
This is a great fit if you:
- like cycling but don’t want the hassle of arranging bikes and transport separately
- want epic Queenstown scenery in a self-guided format
- are active enough for hills and gravel
- enjoy taking breaks whenever the view earns one
It’s less ideal if you:
- want a totally flat, casual pedal with no hills
- are nervous about downhill gravel
- don’t meet the strong physical fitness guidance
For families, it can work well with teens who can handle cycling and follow safety instructions. Children must be accompanied by an adult, so pick the e-bike if you’re trying to keep the experience comfortable for everyone.
Should you book this Arrowtown to Queenstown bike adventure?
Yes—if you want a hands-on Queenstown experience that feels like your own day, not a fixed tour schedule. The bundle is strong for the price, and the ride route delivers big scenery with enough variety to stay interesting from start to finish.
If you’re deciding between bike types, I’d lean e-bike for most people who want the full views without turning the day into a test of survival. You’ll still get a workout, just a smarter one.
If you’re the kind of rider who loves being challenged and you’re comfortable on gravel descents, a standard mountain bike can be a satisfying way to earn that lake-edge finish. Either way, bring snacks and ride calm on the downhills. That’s how this becomes one of the best days in Queenstown rather than a stressful one.
FAQ
How long is the Arrowtown to Queenstown bike adventure?
The full experience runs about 5 to 7 hours. Approximate biking time is usually 3 to 4 hours, but some riders take as long as 6 hours.
Do I need an e-bike, or can I ride a regular bike?
You can choose either a mountain bike or an e-bike. The hills are part of the route, and many riders recommend the e-bike option if you want an easier climb and more comfortable pacing.
Is this self-guided or do I ride with a guide?
It’s self-guided. You’ll receive a trail map and local tips, plus you have on-call support if you need help with bike issues or navigation.
What’s included in the $58.95 price?
The price includes the mountain bike or e-bike hire, helmet, trail map and local tips, one-way shuttle from Queenstown to Arrowtown, and on-call support. Food and drinks are not included.
Where do I meet, and where do I finish?
You start at 3 Searle Lane in Queenstown. The ride finishes back at the same meeting point in central Queenstown, anytime before 4:30 pm.
What happens if the weather is poor?
This experience requires good weather. If it’s canceled due to poor weather, you’ll be offered a different date or a full refund.